DIY Monogram Stockings

So, it's happened. Christmas is over! If you're like me, you're sadly putting away your decorations until next year, while simultaneously scouring the stores for new discount Christmas decor and supplies. Plain stockings are abundant, but what can you really do with those? Well, how about adding a monogram for every member of your family!? Aside from being stinking adorable, these stockings make great place settings at the dinner table. Just tuck a few utensils in them, or use them for a crafting party. The options are endless!

Plain stockings are abundant, but what can you really do with those? Well, how about adding a monogram for every member of your family!? Click for the full tutorial.

You will need:

Plain stockings are abundant, but what can you really do with those? Well, how about adding a monogram for every member of your family!? Click for the full tutorial.

White Stockings
Acrylic paint (here)
Foam Brush (here)
Stencils (here)
Tassels (here)
Pom poms (here)
Needle & thread
Painter's tape or washi tape
Scissors

Directions:

Plain stockings are abundant, but what can you really do with those? Well, how about adding a monogram for every member of your family!? Click for the full tutorial.

1. Decide which style of letter you want to use, and collect the letters you need for your stockings.

2. Place your stencil on the stocking and tape it in place.

3. Using a foam brush, paint on the letter. My stencil didn't lay 100% flat, so I had to press it down while I painted so paint didn't seep through. Once you've made sure there are no missing spots, carefully peel off the stencil.

4. While your letters dry, start making your pom pom tassel charms. Take a needle and thread, and string it through your pom poms. Then, add a tassel charm, and sew back up through the pom poms.

Plain stockings are abundant, but what can you really do with those? Well, how about adding a monogram for every member of your family!? Click for the full tutorial.

Voila! That's all you need for these adorable monogrammed stockings. Mine are mini sized, but you can definitely get a set of larger ones to hang by the fireplace!

Colorful Ornament Making Party

We are SO CLOSE to Christmas! One of my favorite things to do as it approaches is gather up my friends, have a party, and make something for the holidays. I love crafting (is that a secret?) and anytime I get to do it with others, I am in heaven! I wanted to whip up a simple party that brings my friends together to do something I personally LOVE- making ornaments! While everyone else is baking cookies, you can find us creating one-of-a-kind baubles for our tree that we can use year after year. I teamed up with Oriental Trading to create a simple and affordable ornament making party for you and your besties (or kids!) this holiday season.

*This post was sponsored by Oriental Trading. All projects and opinions are my own.

I wanted to whip up a simple party that brings my friends together to do something I personally LOVE- making ornaments! While everyone else is baking cookies, you can find us creating one-of-a-kind baubles for our tree that we can use year after yea…

I set up my party by putting a white tablecloth on the table, then stacking a few colorful plates for each setting. I started with a square gold polka dot plate as sort of a charger, then added a red paper dinner plate, a pink paper dessert plate, topped with a pink plastic plate for a little sparkle. It really reflected the light nicely! Then, each setting got a white stocking to customize filled with paintbrushes for the craft projects and a paint palette to keep things neat.

I wanted to whip up a simple party that brings my friends together to do something I personally LOVE- making ornaments! While everyone else is baking cookies, you can find us creating one-of-a-kind baubles for our tree that we can use year after yea…

I used plates I already owned to hold all the craft supplies. My small ramekins held the sequins, my cupcake stands held the confetti, and white plastic bowls held misc supplies. My gorgeous pink pitcher was filled to the brim with perfect clear ornaments just waiting to be filled!

I wanted to whip up a simple party that brings my friends together to do something I personally LOVE- making ornaments! While everyone else is baking cookies, you can find us creating one-of-a-kind baubles for our tree that we can use year after yea…

The table was filled with all sorts of embellishments to create the ornaments, like pom poms, sequins, tassels, and bells! I also had some craft supplies on hand, like scissors, glue guns, paint trays, and mod podge.

I wanted to whip up a simple party that brings my friends together to do something I personally LOVE- making ornaments! While everyone else is baking cookies, you can find us creating one-of-a-kind baubles for our tree that we can use year after yea…

A white cake stand held our paints. I dressed it up with some sisal trees and some wooden frames ready to be painted!

I wanted to whip up a simple party that brings my friends together to do something I personally LOVE- making ornaments! While everyone else is baking cookies, you can find us creating one-of-a-kind baubles for our tree that we can use year after yea…

I really wanted the table to have a bright and cheery Christmas palette, so I added the paper fans as a backdrop (DIY here), and matched the decor around these adorable mod napkins! The confetti and sequins worked as both a craft supply and decor.

I wanted to whip up a simple party that brings my friends together to do something I personally LOVE- making ornaments! While everyone else is baking cookies, you can find us creating one-of-a-kind baubles for our tree that we can use year after yea…

Even though the color scheme didn't exactly scream CHRISTMAS, I still wanted the party to have a Christmas vibe. What embodies that better than Christmas trees?! I placed them everywhere I could, from the sisal trees on the cake stand, the clear trees surrounding the base, to the paper fans on the wall.

I wanted to whip up a simple party that brings my friends together to do something I personally LOVE- making ornaments! While everyone else is baking cookies, you can find us creating one-of-a-kind baubles for our tree that we can use year after yea…

With a party so intimate and cozy, you're bound to have unexpected guests! Just like Roger, who came to take a nap under the table.

I wanted to whip up a simple party that brings my friends together to do something I personally LOVE- making ornaments! While everyone else is baking cookies, you can find us creating one-of-a-kind baubles for our tree that we can use year after yea…

Overall I think this party is great for getting everyone in the crafting Christmas spirit. It surprises me that most people don't know about Oriental Trading and how many amazing party and craft supplies they have! With this setup, I can imagine everyone gathered around the table sipping some wine and laughing about funny Christmas stories! Or, maybe swapping memories from their favorite Christmas. Either way, this party is sure to please! Head over to Oriental Trading now so you can get your supplies in time for Christmas!

I wanted to whip up a simple party that brings my friends together to do something I personally LOVE- making ornaments! While everyone else is baking cookies, you can find us creating one-of-a-kind baubles for our tree that we can use year after yea…

DIY Paper Fan Christmas Tree

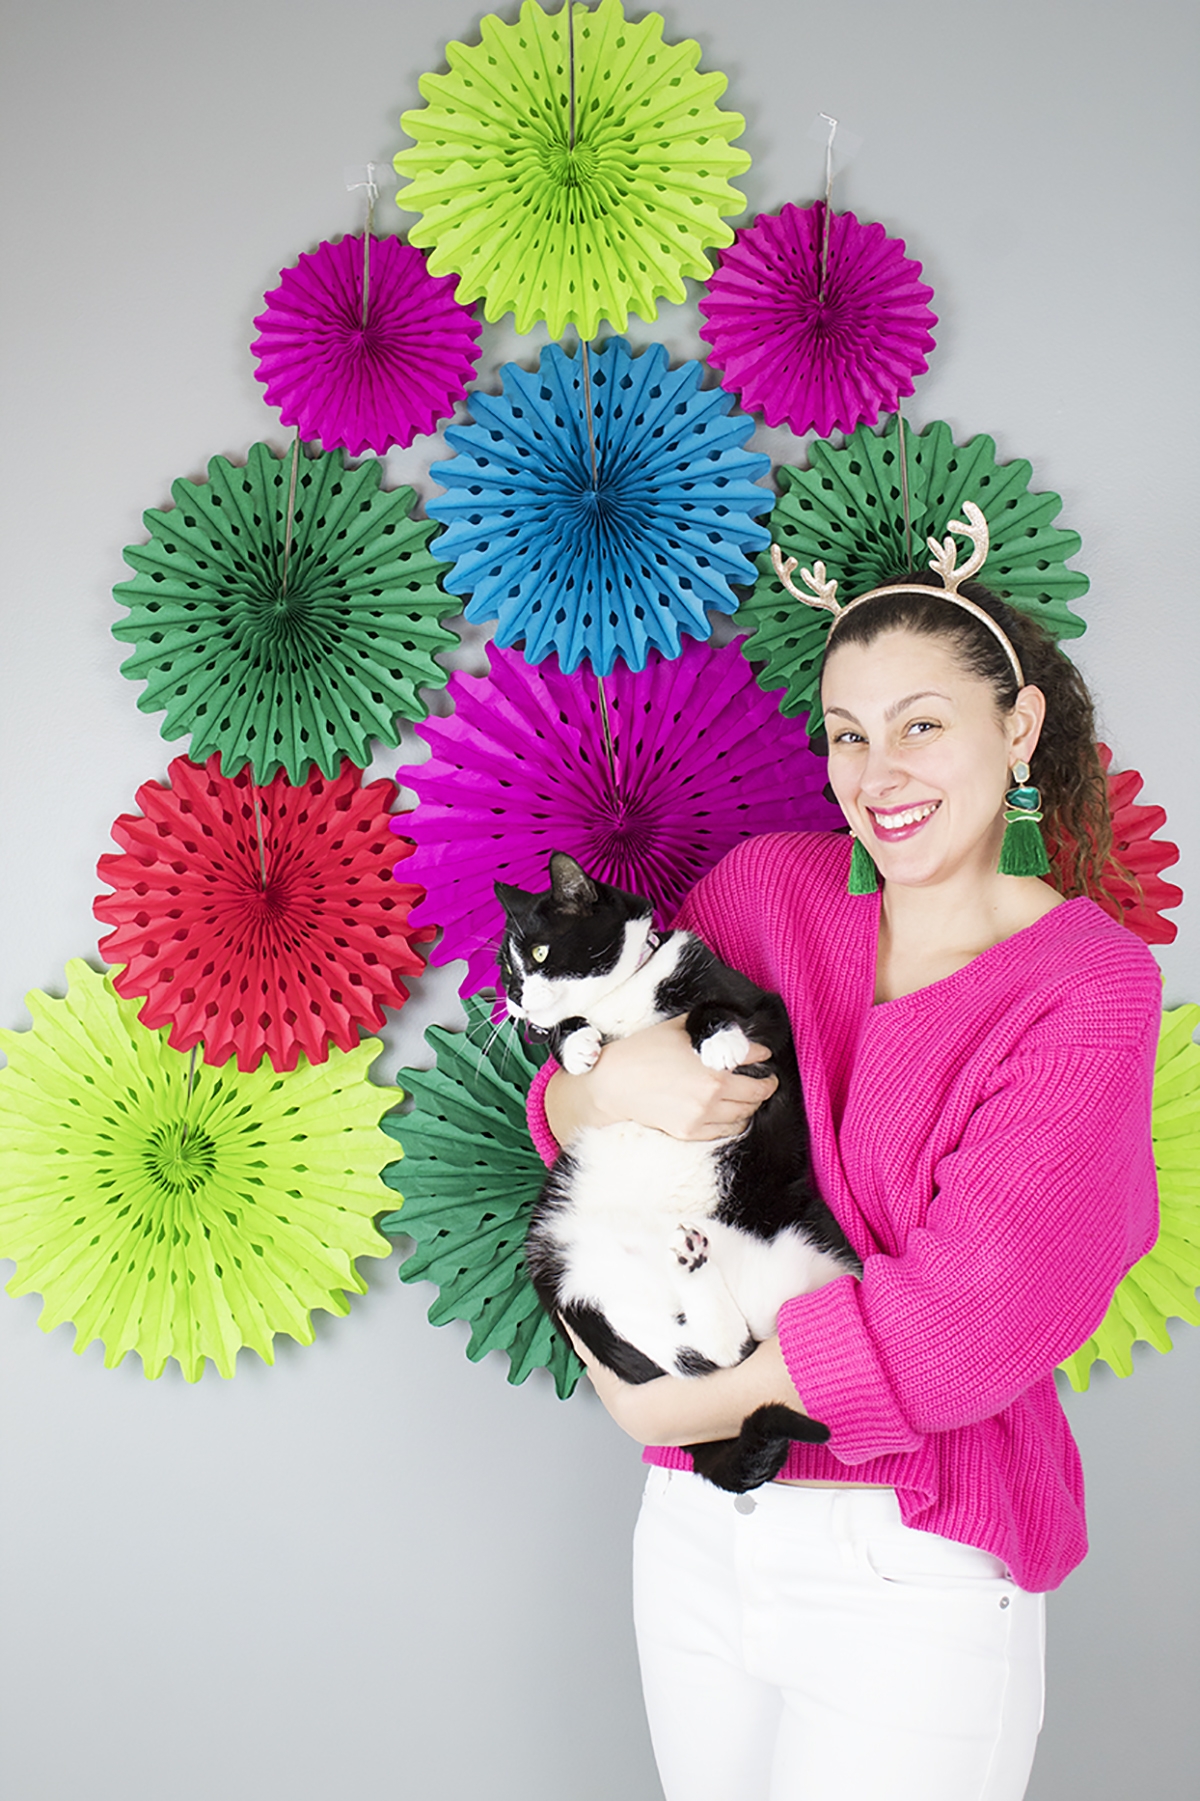
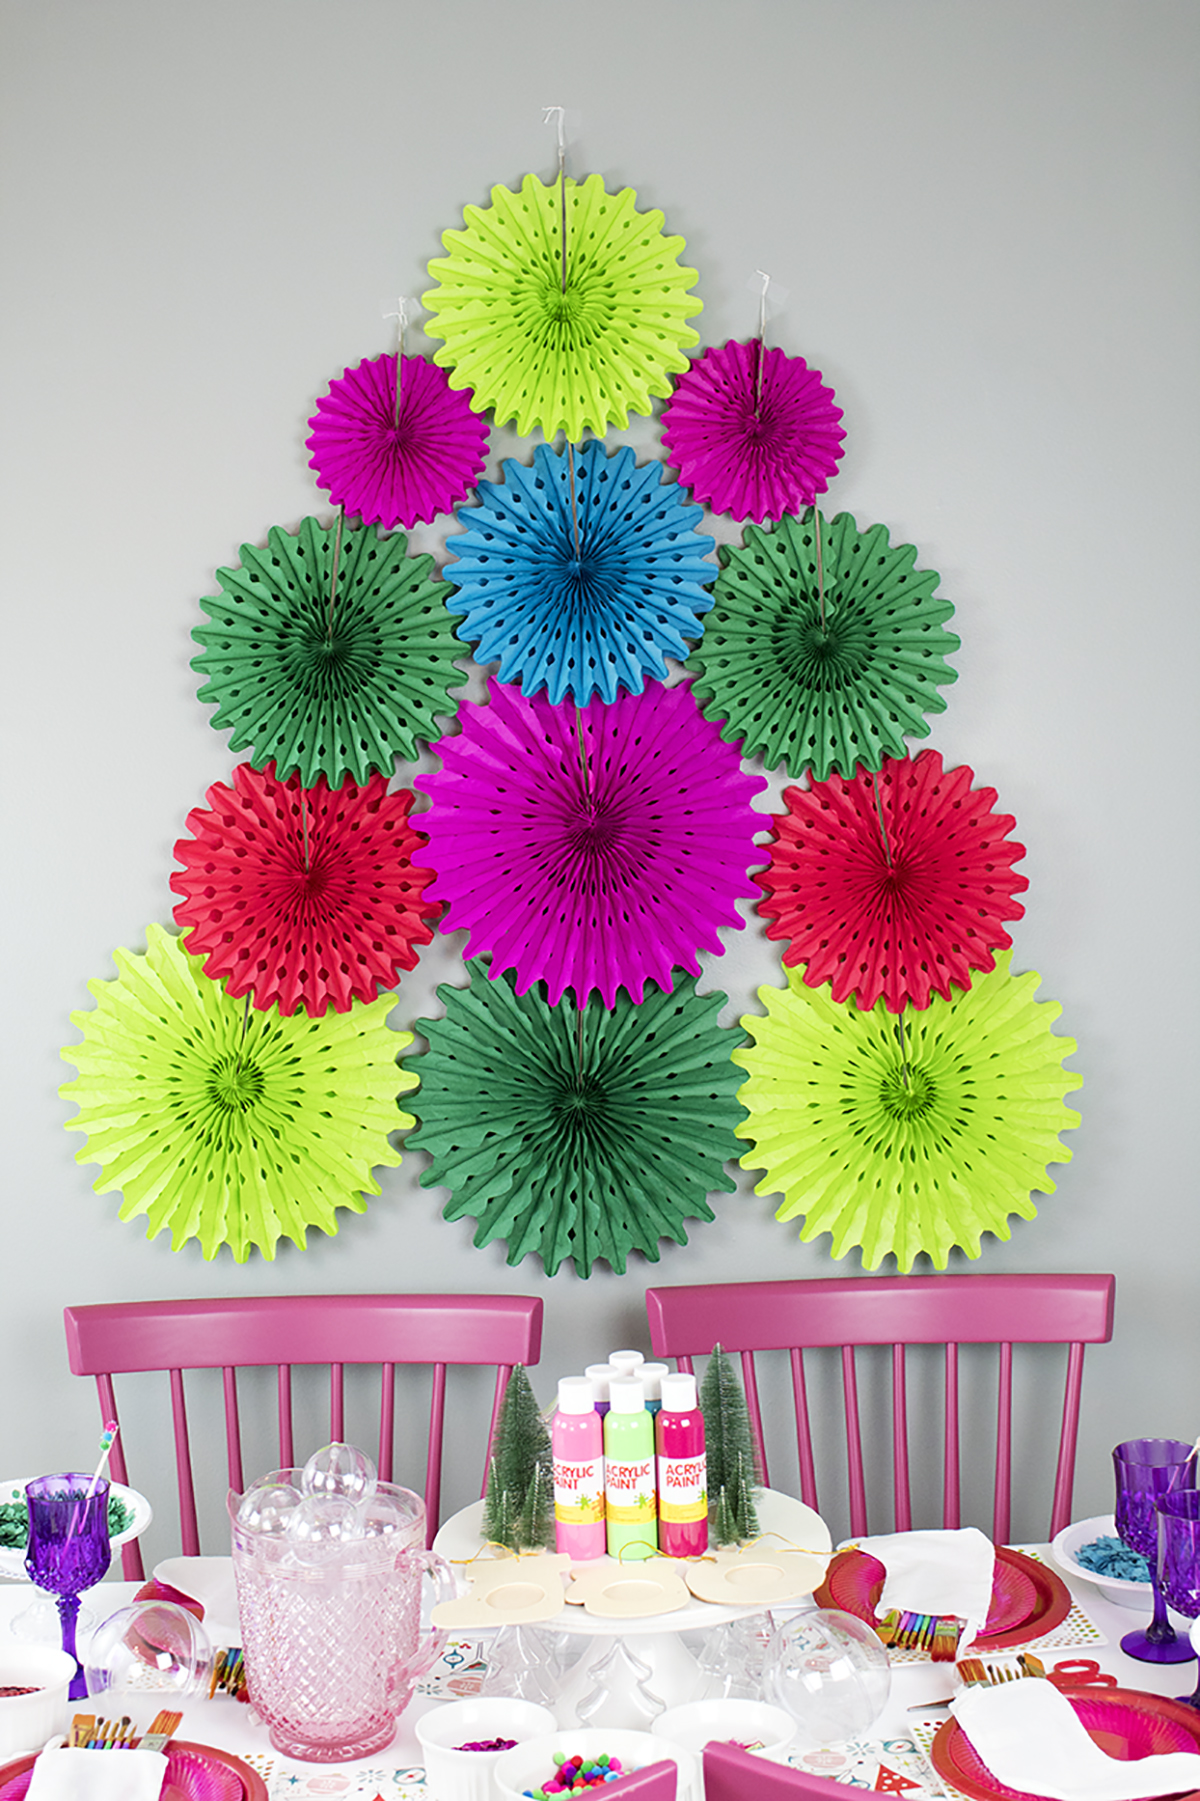
Merry (almost) Christmas! I'm trying to add some fun color to my decor this year! I wanted something really simple that had a great impact. It's no secret that I love paper fans, so I figured they would be the perfect focal point for my ornament making party! I teamed up with Oriental Trading to get all the supplies I needed. This DIY only takes a few minutes to put up, and it can be used again and again. It would look really cute starting lower and being a photo prop or even as a Christmas tree alternative for a small space. Let's get started!

*This post was sponsored by Oriental Trading. All projects and opinions are my own.

This DIY backdrop only takes a few minutes to put up, and it can be used again and again. It would look really cute starting lower and being a photo prop or even as a Christmas tree alternative for a small space. #paperfans #partybackdrops #christma…

You will need: 

This DIY backdrop only takes a few minutes to put up, and it can be used again and again. It would look really cute starting lower and being a photo prop or even as a Christmas tree alternative for a small space. #paperfans #partybackdrops #christma…

Paper fans (pink, red, blue, light green, dark green)
Tape
Stapler
string or similar

Directions

This DIY backdrop only takes a few minutes to put up, and it can be used again and again. It would look really cute starting lower and being a photo prop or even as a Christmas tree alternative for a small space. #paperfans #partybackdrops #christma…

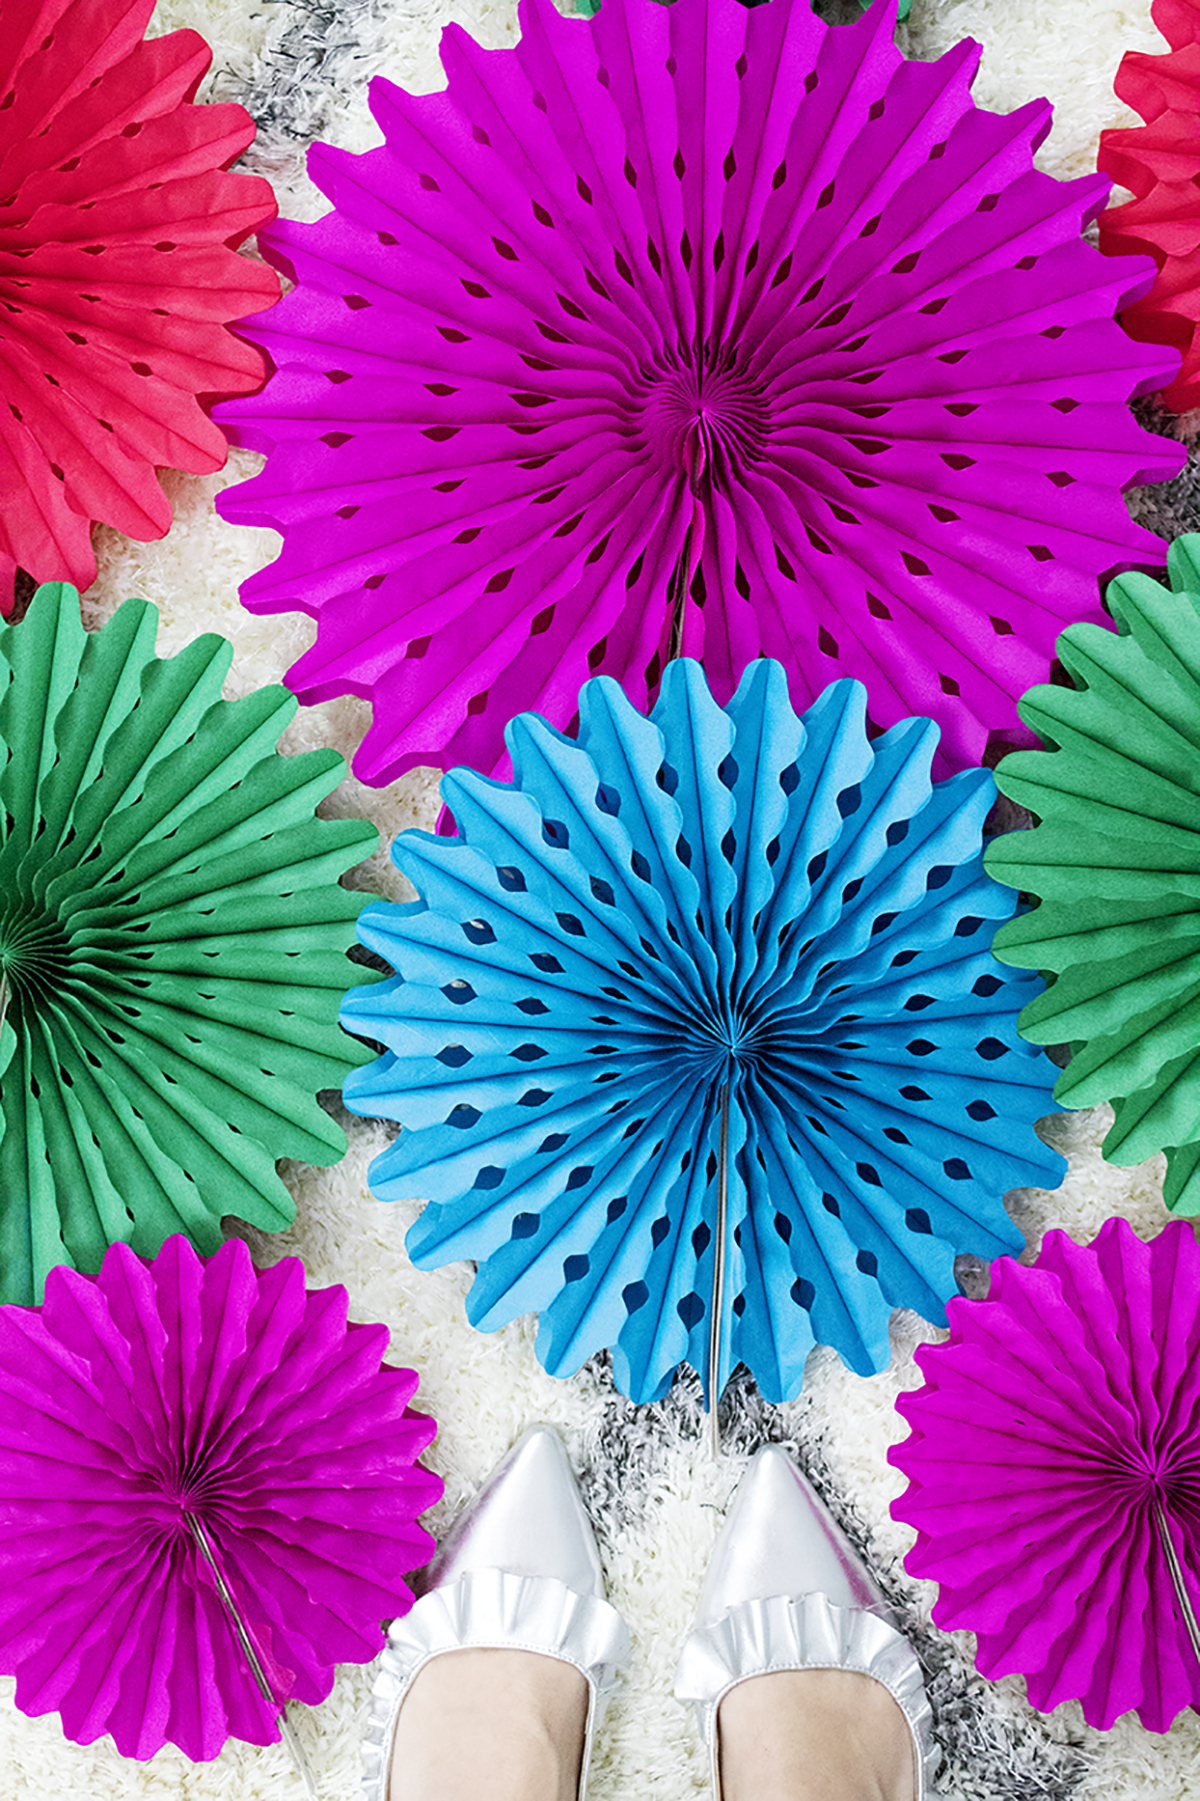
1. Grab a few different colors and sizes of your paper fans. Lay them out on a floor, table, or other large surface.

This DIY backdrop only takes a few minutes to put up, and it can be used again and again. It would look really cute starting lower and being a photo prop or even as a Christmas tree alternative for a small space. #paperfans #partybackdrops #christma…

2. Open each paper fan and thread the string through the hole at the top. Then, place a small staple just under the hole. I know that the paper fans come with double sided tape, but sometimes it doesn't stick well, and better yet, this method allows you to re-use them! Reduce, reuse, recycle :)

This DIY backdrop only takes a few minutes to put up, and it can be used again and again. It would look really cute starting lower and being a photo prop or even as a Christmas tree alternative for a small space. #paperfans #partybackdrops #christma…

3. Start arranging your fans into a tree shape, starting at the bottom. I tried a few different color combos, and I found that using a pattern was better than going totally random. My pyramid (starting from the bottom) went 3 large fans, 1 large 2 medium, 3 medium, 2 small 1 medium.

4. Once you like your shape and color combo, take a string and roughly measure up the height of the tree and cut. I found that a pair of headphones I had was the exact height of the tree. You might be wondering, why are we doing this? We are using this string as a guide so we can make sure the tree is centered where we want it, and so that we can maintain the right distance between the levels! It's hard to tell when it's laying on the floor, and you don't want to tape everything up and realize it's all wrong.

5. Tape up your guide string, and take a look to make sure it's in the right place and the right height for your space. I placed mine high because I wanted it to be a backdrop for a table. 

This DIY backdrop only takes a few minutes to put up, and it can be used again and again. It would look really cute starting lower and being a photo prop or even as a Christmas tree alternative for a small space. #paperfans #partybackdrops #christma…

6. Starting at the bottom center, tape your first fan, making sure to move the guide string out of the way. Then, tape the next 2 on either side. I fit mine "together", like a zipper, since the pieces went into each other. This made the shape tighter and neater.

7. Go up the rows, adding the center fan and moving outwards. I also tried to cover the hanging string and cardboard of the one below whenever possible. Remember that the shape you created on the floor was an estimate. When you get it up on the wall, it might not look quite as good as it did on the floor. I ended up switching out the top levels and liked the shape much better.

8. You can add a star at the top, or even some small ornaments, like these holographic paper ornaments or quirky animal ornaments if you wanted to decorate it a bit.

This DIY backdrop only takes a few minutes to put up, and it can be used again and again. It would look really cute starting lower and being a photo prop or even as a Christmas tree alternative for a small space. #paperfans #partybackdrops #christma…

I think this backdrop is a great, easy addition for any holiday party! If you wanted to save some money, pick two main colors and alternate them for each row. You can also add a stem/base if you want, but mine would have interfered with the chairs so I left it off. Christmas is fast approaching, so head on over to Oriental Trading now to place your orders!

This DIY backdrop only takes a few minutes to put up, and it can be used again and again. It would look really cute starting lower and being a photo prop or even as a Christmas tree alternative for a small space. #paperfans #partybackdrops #christma…

How do you plan on using your tree? Christmas tree alternative? Door decoration? Photo Booth backdrop? Kids room decor? Let me know in the comments below!

Easy Colorful Thanksgiving Place Cards

You guys... Thanksgiving is next week!! I truly can't believe how quickly the months have flown by this year. It feels like just yesterday we rang in the new year, and we're about to celebrate another one! While I'm especially excited for the upcoming holiday season (and busy prepping those blog posts!) I'm featuring the one, lonely Thanksgiving craft I did this year haha. These place cards are super quick and easy to make, so you can get back to cooking everyone's favorites and setting that table.

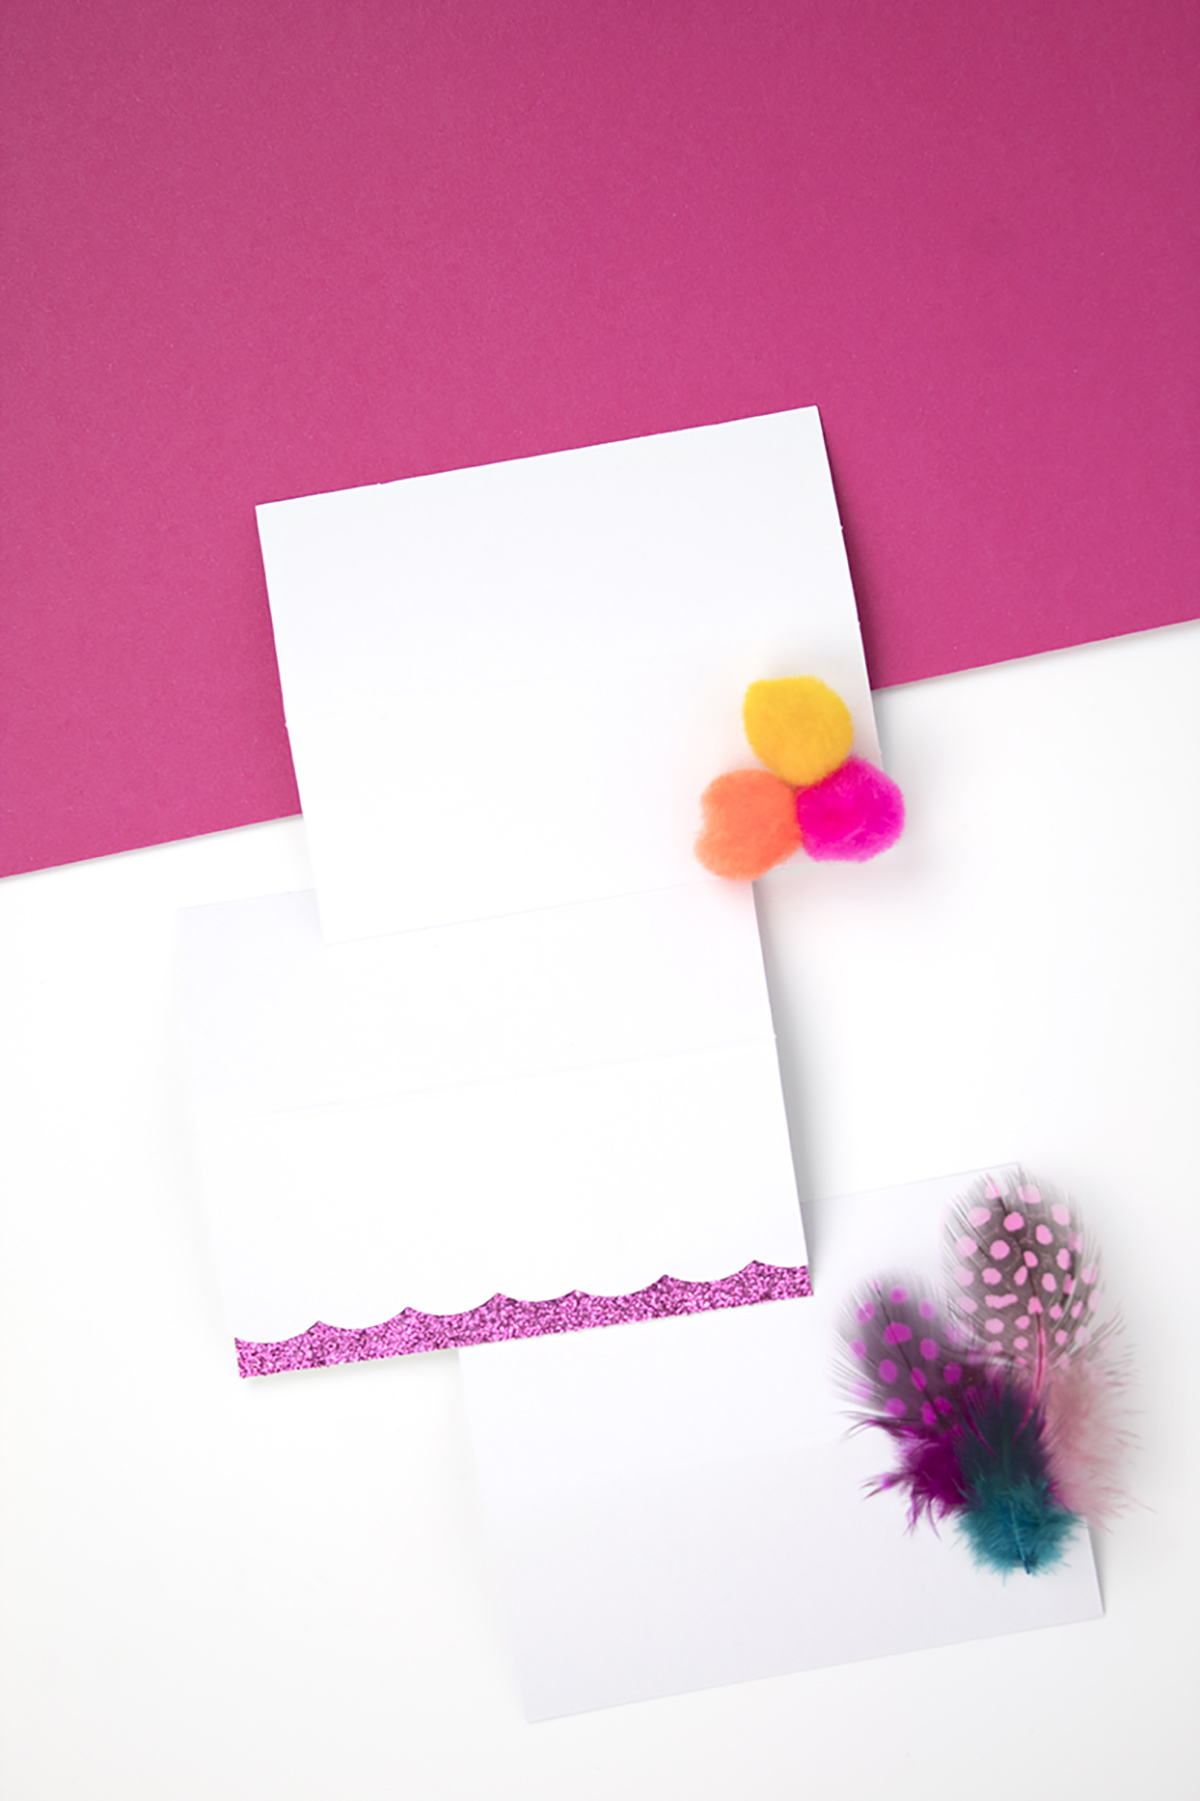
Looking for an easy Thanksgiving place card for your guests? Well, I’ve got 3 DIY options for you! Try a fun pom pom place card, a scallop glitter place card, or a feather place card! They can be customized for your  Friendsgiving or Thanksgiving ta…

These are perfect because you can whip them up quickly with just a glue gun! There's practically no dry time, so you can even make them in the morning while you're watching the Macy's Thanksgiving Day Parade. Head on over to Giggles Galore for the full post!

Looking for an easy Thanksgiving place card for your guests? Well, I’ve got 3 DIY options for you! Try a fun pom pom place card, a scallop glitter place card, or a feather place card! They can be customized for your Friendsgiving or Thanksgiving tab…

I think these glitter scallop trim ones are my favorite! My husband also liked them best. Um, he liked something with glitter? WHAT?! You can even mix and match the different designs as long as you pick a similar color palette. You can keep the colors very traditional, or go a little bit funky like I did.

Looking for an easy Thanksgiving place card for your guests? Well, I’ve got 3 DIY options for you! Try a fun pom pom place card, a scallop glitter place card, or a feather place card! They can be customized for your Friendsgiving or Thanksgiving tab…

Either way, your guests are sure to love them! So what are you waiting for? Head over to Giggles Galore for the full post!

DIY Fruit Slice Container

Ohhh hey summer babes! Can you believe it's Mid-August?! Summer is coming to an end, and I'm a little bit bummed. It went by really quickly (as summers usually do) but it was fun, despite being so busy with wedding planning! Ever since I was a kid, summer always held a special place in my heart. One of my favorite things about summer is enjoying a sweet, juicy piece of fruit on a hot day. Bonus points if it was in the fridge! Since I had some time to create one last summer craft, I decided to pay homage to my love of fruit by creating this fruit slice container. It's perfect for storing all your little knick-knacks, like rings, hair ties, or even fortune cookie fortunes!

One of my favorite things about summer is enjoying a sweet, juicy piece of fruit on a hot day. Since I had some time to create one last summer craft, I decided to pay homage to my love of fruit by creating this fruit slice container. It's perfect fo…

You can find everything you need to make these containers (and more!) at Oriental Trading. They're one of my favorite places to shop online, since they have everything you need for weddings and for craft projects! So invite your besties over for a craft day, and let's have some fun!

One of my favorite things about summer is enjoying a sweet, juicy piece of fruit on a hot day. Since I had some time to create one last summer craft, I decided to pay homage to my love of fruit by creating this fruit slice container. It's perfect fo…

You will need:

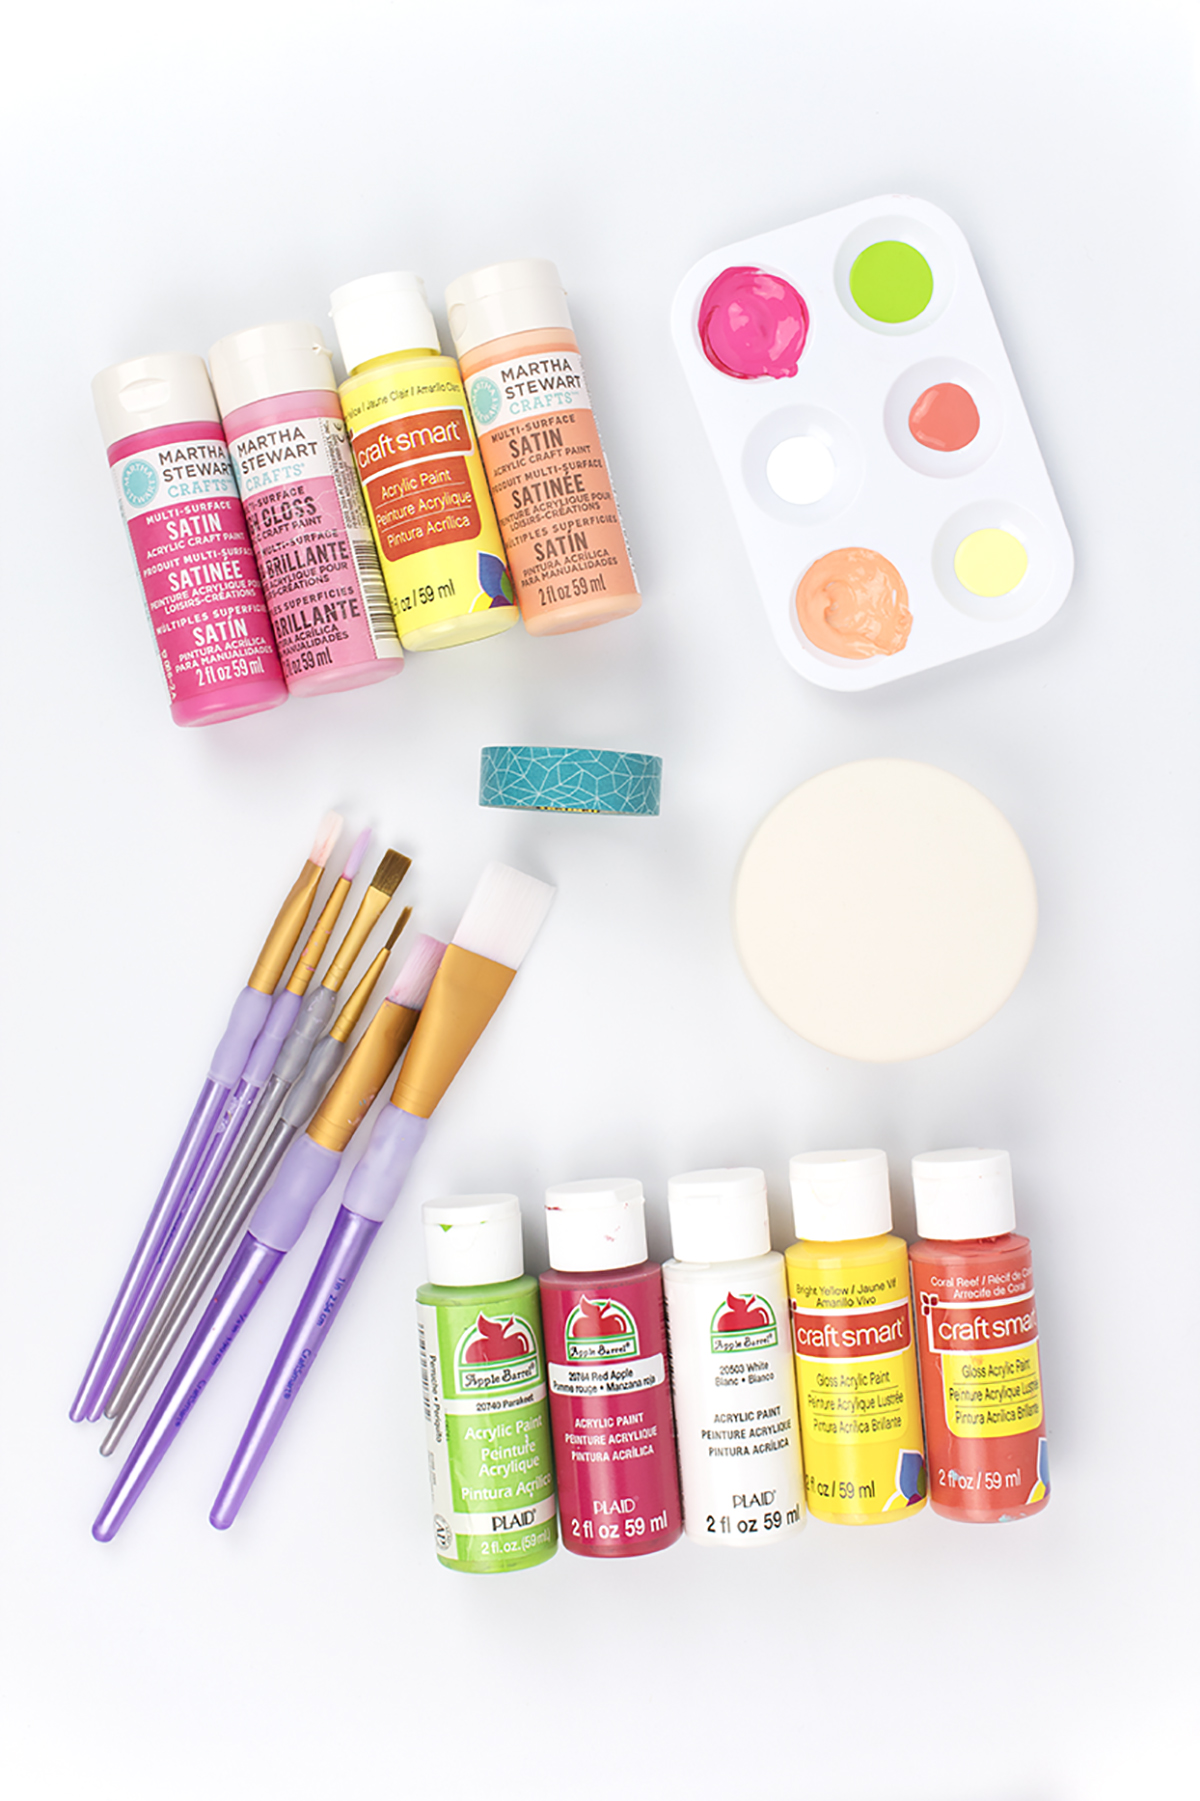
Acrylic Paint (here)
Paintbrushes (here)
Paint Palette (here)
Washi Tape (here)
Round Ceramic Container (here)
Mod Podge (here)
Colorful Sharpies (here)

One of my favorite things about summer is enjoying a sweet, juicy piece of fruit on a hot day. Since I had some time to create one last summer craft, I decided to pay homage to my love of fruit by creating this fruit slice container. It's perfect fo…


For the Citrus Slices:

  1. Paint your lid and the inside of your container white.

  2. Using your stickers and tape, create a spoke pattern with a circle in the middle.

  3. Paint your exposed sections in your choice of color.

  4. Paint the rest of the container (the bottom) to match the peel.

  5. Remove the tape and add a rim for the rind.

  6. Paint with mod podge to prevent scratches.

  7. Write a funny note in the container.

One of my favorite things about summer is enjoying a sweet, juicy piece of fruit on a hot day. Since I had some time to create one last summer craft, I decided to pay homage to my love of fruit by creating this fruit slice container. It's perfect fo…

For the Watermelon Slices:

One of my favorite things about summer is enjoying a sweet, juicy piece of fruit on a hot day. Since I had some time to create one last summer craft, I decided to pay homage to my love of fruit by creating this fruit slice container. It's perfect fo…


  1. Paint the top reddish-pink and the inside white.

  2. Add a green rim around the red top to create the rind.

  3. Paint the rest of the container (the bottom) green.

  4. Add seeds using paint and a thin paint brush.

  5. Write a funny note in the container.

One of my favorite things about summer is enjoying a sweet, juicy piece of fruit on a hot day. Since I had some time to create one last summer craft, I decided to pay homage to my love of fruit by creating this fruit slice container. It's perfect fo…

Yay summer! I'm such a hoarder of small containers. I have them everywhere, and sometimes I have smaller containers within larger containers. I think I'm an addict. 

What do you keep in your little containers? Let me know in the comments below!