DIY Affordable Book Art

As I mentioned in my last post, I've got a serious lack of artwork in my home! I wanted to find some cute and colorful cocktail-related images for above my bar, but everything was either cheesy or expensive. Also, the space is a weird size- there's a light fixture above and a light switch below, so I only had about 2 feet in between for art. I had a book of cocktails that I rarely used, which had some GORGEOUS photos inside. That's when it hit me- why hide the images in the book, when I could display them proudly on the wall?! I went to Michael's to pick up some cute and simple white frames with a mat so the images would take up enough space while also "popping" against the frame. I'm sooo happy with the result that I decided to show you guys exactly how I did it.

Got a spot that needs some artwork? Why not save some money and use some artwork from your books?! It's affordable and easy as can be. Click for the full how-to.

The best part is that you can use any type of book or magazine that you have. My suggestions? HGTV books and magazines for cool and colorful homes, Cooking Magazines or Recipe Books with tasty recipes for the kitchen, and Artwork Books and Magazines for the rest of the home. Even National Geographic would be great with its artistic animal photos!

*This post contains affiliate links

You will need: 

Frame (from Michaels, similar here)
Books (here)
 

Directions:

Got a spot that needs some artwork? Why not save some money and use some artwork from your books?! It's affordable and easy as can be. Click for the full how-to.
  1. Flip through your book or magazine to find your favorite images. Tear them out as close to the spine as you can.
  2. Remove the back of your frame and take out the placeholder image and the mat.
  3. My mat was double layered white and gray, so I carefully pulled off the gray one from underneath to leave only the white one. It worked perfectly!
  4. Position your artwork within the mat, and tape in place if needed.
  5. Place the mat and artwork into the frame, and close up the back. Make sure there is no dust or hairs on the inside of the glass before you do!
Got a spot that needs some artwork? Why not save some money and use some artwork from your books?! It's affordable and easy as can be. Click for the full how-to.

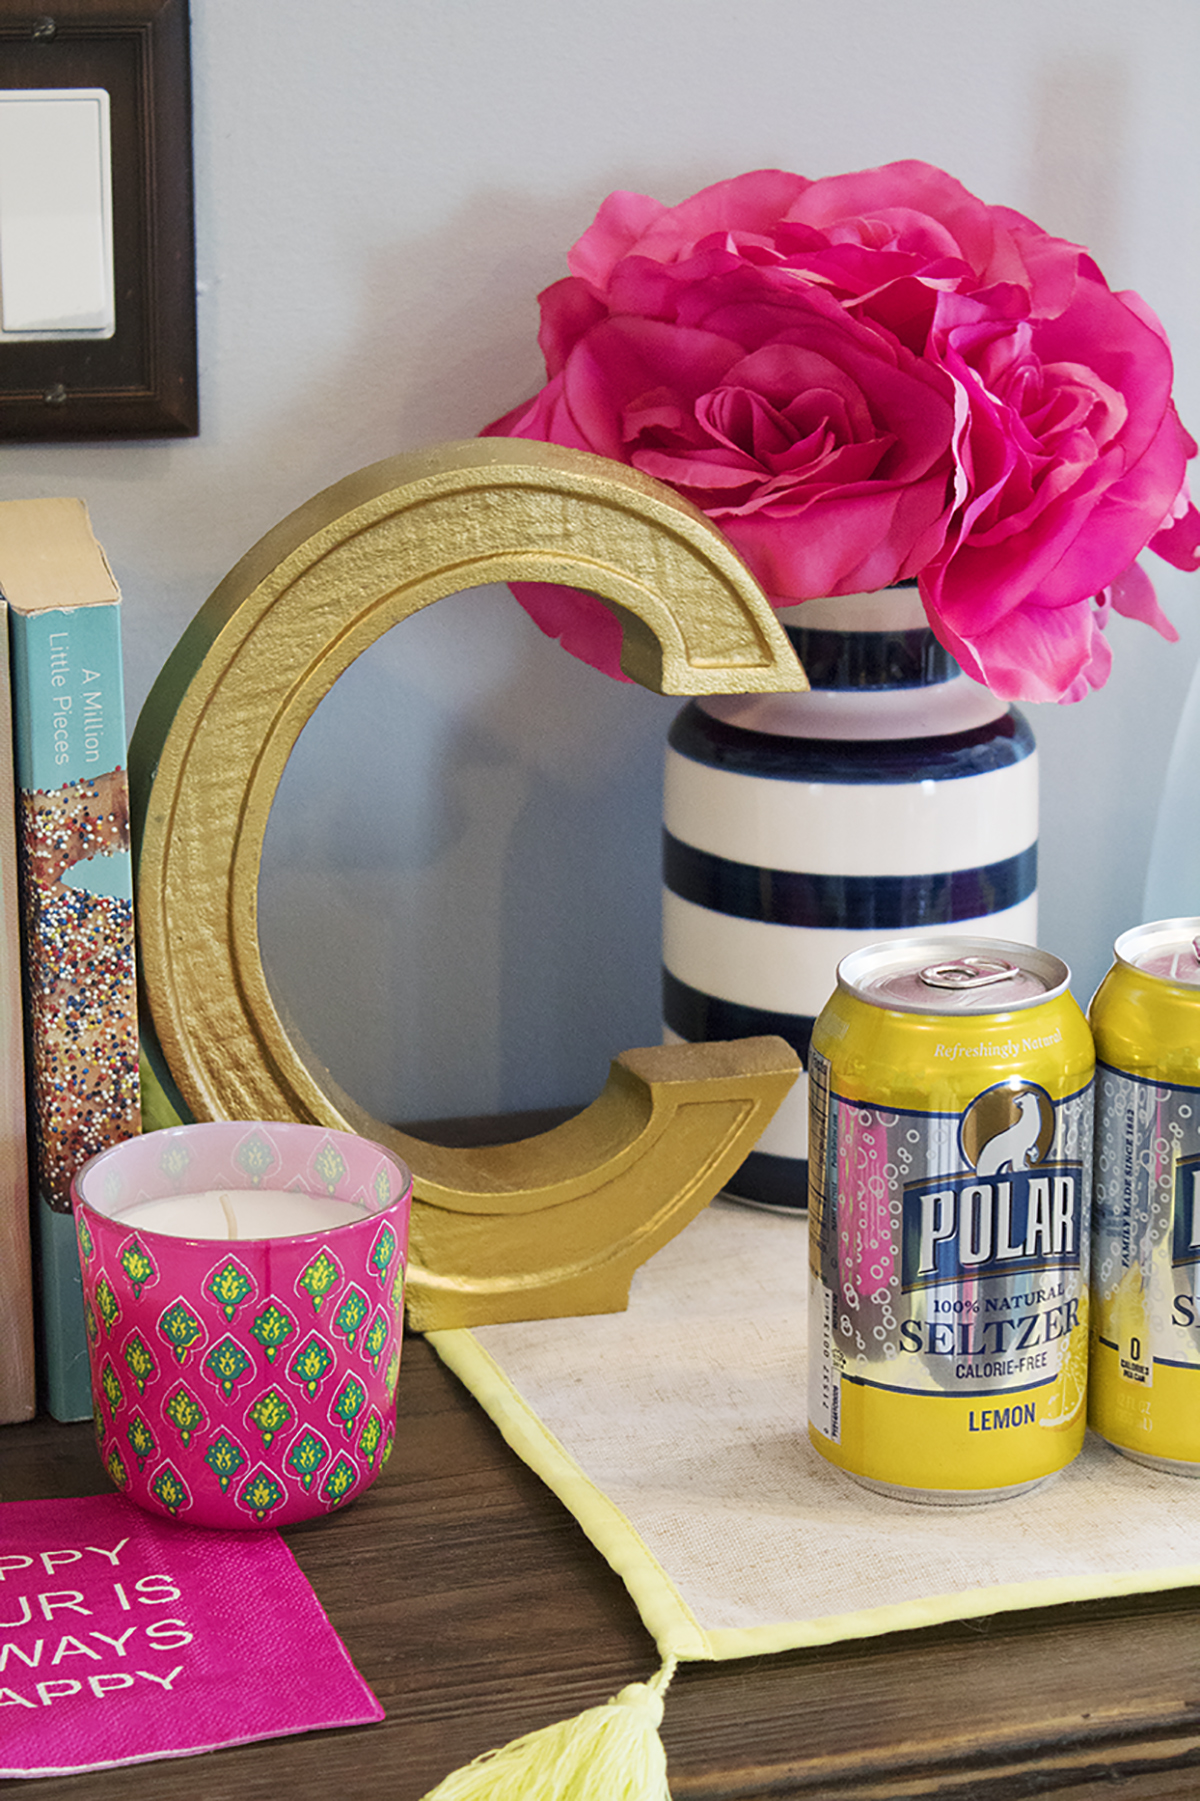
I mean... how cute does this artwork look?! This is such an affordable way to add some artwork to your home, especially if you have gorgeous books that you occasionally look at but don't use. This way, everyone can see the beauty within- right there on the walls! I also styled my bar with some really cute, colorful stuff. That blog post is coming later this week, so stay tuned!

Are you planning to create your own book art for your home? Let me know what you plan to use in the comments below!

DIY Christmas Drink Stirrers

ok, I know I'm a little ahead of the game here, but I'm just too dang excited. IT'S ALMOST CHRISTMASSSSSSSS. I've been waiting all year for the holiday season to roll around again, partly because I have all these great Christmas DIY projects I've been wanting to show you. I figured we'd start it off easy with these Christmas drink stirrers so that we can start swizzling those Christmas cocktails and get in the holiday spirit, amiright? 

These Christmas stirrers are super easy and super affordable. You can make them in your choice of colors, but I'm always a fan of pink so I chose a more modern color palette. I had actually made these last year for the blog, but the photos came out SO BAD that I couldn't bring myself to post them (see them here). So, I knew they had to be my first project this year. I gave them a slight makeover and a new color scheme, and voila! Ready to go.

Want to get into the Ho-Ho-Holiday spirit? Grab these drink stirrers for your Christmas spirits (hah, see what I did there?!) They’re really easy to make for your Christmas party or cookie exchange. Click to make your own right now! #drinkstirrers #…

You will need:

Want to get into the Ho-Ho-Holiday spirit? Grab these drink stirrers for your Christmas spirits (hah, see what I did there?!) They’re really easy to make for your Christmas party or cookie exchange. Click to make your own right now! #drinkstirrers #…

Wooden stirrers (here)
Assorted rhinestones (similar here and here)
Assorted sparkly pom poms (from Michaels, similar here)
Glue gun (similar here)
Toothpick


Rhinestone Stirrers:

Want to get into the Ho-Ho-Holiday spirit? Grab these drink stirrers for your Christmas spirits (hah, see what I did there?!) They’re really easy to make for your Christmas party or cookie exchange. Click to make your own right now! #drinkstirrers #…

Directions: Take your wooden stirrer and put a dab of glue on the end. If your glue gun puts out a thick dollop, use a toothpick to put a small amount of glue on the back of the rhinestone or onto the stirrer. Place your large rhinestone at the top. Then, put 2 more of the small rhinestones underneath it. If you want it to look less home made, flip it over and repeat for the other side.

Want to get into the Ho-Ho-Holiday spirit? Grab these drink stirrers for your Christmas spirits (hah, see what I did there?!) They’re really easy to make for your Christmas party or cookie exchange. Click to make your own right now! #drinkstirrers #…
 

Mini PomPom Stirrers:

Want to get into the Ho-Ho-Holiday spirit? Grab these drink stirrers for your Christmas spirits (hah, see what I did there?!) They’re really easy to make for your Christmas party or cookie exchange. Click to make your own right now! #drinkstirrers #…

Directions: Put a dab of glue on one end of the stirrer, and pop on your pompom. Hold in place until it dries, then repeat for the other 2 pom poms. Easy peasy!

Want to get into the Ho-Ho-Holiday spirit? Grab these drink stirrers for your Christmas spirits (hah, see what I did there?!) They’re really easy to make for your Christmas party or cookie exchange. Click to make your own right now! #drinkstirrers #…
 

Snowman Stirrers:

Want to get into the Ho-Ho-Holiday spirit? Grab these drink stirrers for your Christmas spirits (hah, see what I did there?!) They’re really easy to make for your Christmas party or cookie exchange. Click to make your own right now! #drinkstirrers #…

Directions: Glue the pompoms onto the stirrer in size order from smallest to largest. You can also glue your pompoms in the other direction if you want it to be festive instead of snowman.

Want to get into the Ho-Ho-Holiday spirit? Grab these drink stirrers for your Christmas spirits (hah, see what I did there?!) They’re really easy to make for your Christmas party or cookie exchange. Click to make your own right now! #drinkstirrers #…

And there you have it! 3 easy ways to get festive with your drink stirrers for coffee, hot cocoa, and cocktails. These are perfect for any age, and they're disposable! You could even use them as drink markers, depending on how many people you have since each one can be different. And, since you can mix and match the colors, you can make these to match any holiday or event.

Want to get into the Ho-Ho-Holiday spirit? Grab these drink stirrers for your Christmas spirits (hah, see what I did there?!) They’re really easy to make for your Christmas party or cookie exchange. Click to make your own right now! #drinkstirrers #…

I'm SO excited for all the posts coming to the blog in the next few weeks. There are some really good ones headed your way!!

So, which drink stirrer would you grab for your drink? And what drink would it be? Let me know in the comments below!