DIY Donut Party Platter with Sprinkles
/Updated: December 22, 2018
I had no idea when I made this post (my second DIY blog post, ever!) that it would become as popular as it did. I’ve since updated some of the photos, and will soon be re-creating the DIY for you so that you can have much better images to work with! Thank you for loving the post so much. Please be sure to tag me when posting on social media, or adding your photo to the “tried it” section on Pinterest!
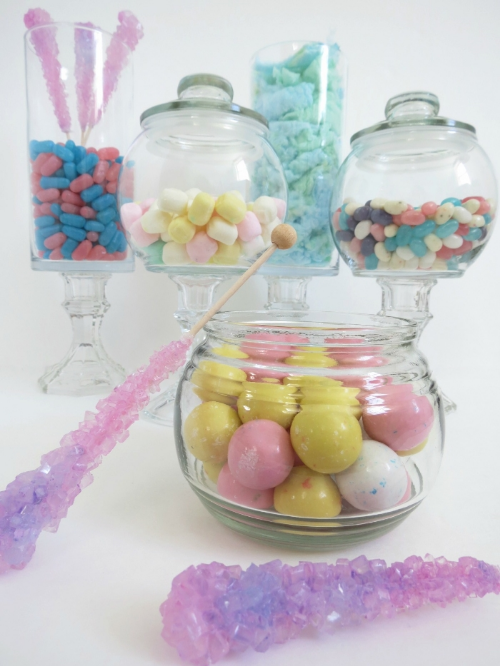
For my birthday, I had a Sugar Sweet birthday party. I had so much fun planning and setting up for this party. It had everything you need for a sugar coma, including cotton candy champagne and a DIY candy bar. To add to the ambiance, I decided to make a fun donut platter! The great news is that the platter is food safe and reusable. So what are you waiting for? Go grab your supplies and lets get started!
1. Thoroughly wash and dry your platter. We'll be painting the underside. This is to make sure it's food safe!
2. Place the platter food-side down. Using the acrylic paint and a thin paintbrush, draw the sprinkles on first. I found that thicker, more opaque sprinkles showed better. Turn the plate over and make sure you're happy with the placement and quantity. Let dry according to directions.
Did you make a sprinkle that's too fat or in the wrong place? Just wipe it off with water!
Paint on those sprinkles!
Let dry according to directions. Then it's time for frosting!
3. If you're using a divided platter, fill in the gaps carefully first. You can be sloppy about it and wipe it off with a q-tip like I did, but that's much harder- learn from my mistake!
Messy messy middle!
Paint the frosting on in a zigzag shape. Let dry and add another coat to make sure it's thick. Be sure to turn it over and check for any gaps in the paint. Note: At this point, the paint is really delicate and scratches easily. Use caution when flipping it and maneuvering it.
4. Once your frosting is dry, paint the rim of the tray as your base donut color. If it's sheer, do another coat and let dry several hours or overnight if possible.
5. Put on a coat or two of mod podge. This will seal the design and make it waterproof. I did two coats, one going vertically and one going horizontally.
And that's all folks! I think this would look adorable in a little girls' room holding their hair clips or for tea parties. How do you plan to use your new platter? Let me know in the comments below!


