DIY Neon Popsicle Earrings

This is a sponsored post written by me on behalf of Cricut. All opinions are 100% mine.

As you probably know, I’ve been having a LOT of fun making faux leather earrings lately! I’ve been using my new Cricut Maker and holy cow, it’s a game changer! My Explore Air was cool and all, but the Maker can keep up with anything I throw at it. Cutting felt? Yep! Fabric! Thin balsa wood! Chipboard! It feels like the possibilities are endless. 

To share my newfound love, I decided to show you guys a fun DIY project using faux leather, and also answer your questions about cutting faux leather with the Cricut Maker! If you’ve never cut faux leather before, head down to the FAQ before beginning this project! It’s full of helpful tips so that you can get started on the right foot. I love faux leather earrings because they weigh practically nothing- perfect for making an impact without saggy ear lobes!

*This post contains affiliate links.

Cricut-Leather-Earrings-13.jpg
Cricut Collage.jpg

  1. Gather your supplies, then open up the project in Cricut Design Space.

  2. Press the “Make It” button and see what size you’ll need for your materials. I like to cut the pieces before running it through the machine to save some time. I use my cutting mat, ruler, and True Control Knife. This thing is amazing- it cut through 3 layers of vinyl at the same time!

  3. First up, cut your faux leather using the Strong Grip Mat. Be sure to place your leather face-down (aka, leather down and fabric backing up). Smooth it down with your brayer to ensure it’s pressed down securely. 

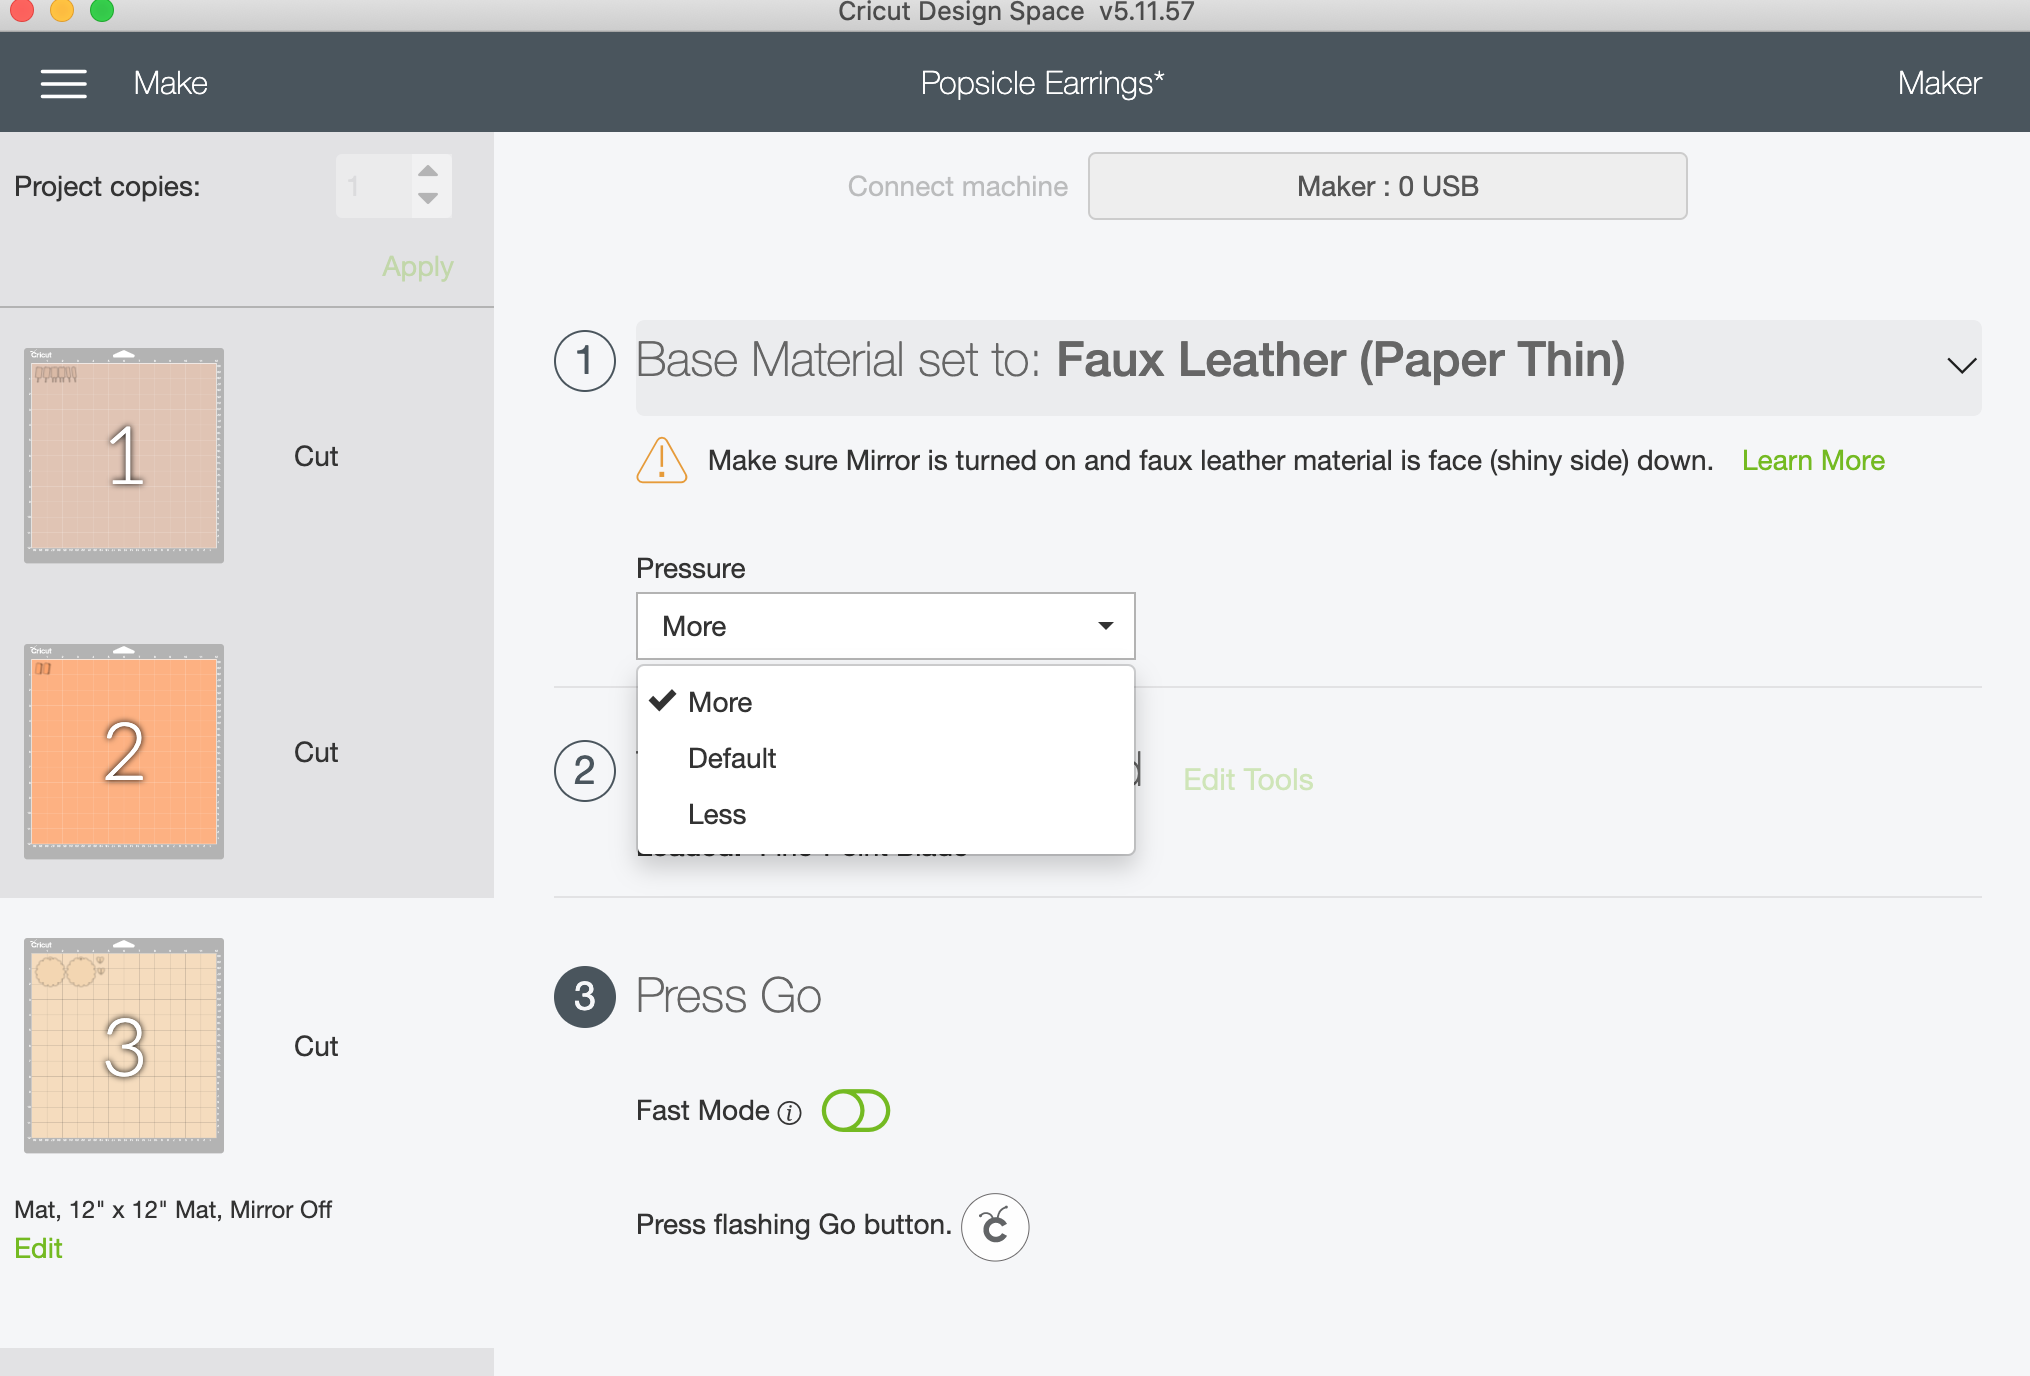
  4. Load your mat into your Cricut Maker. Select the material (faux leather- paper thin) and set the pressure to “MORE”. Once it’s cut, don’t peel it off yet! Test that it comes out easily and smoothly. If not- run it through again.

  5. Cut your vinyl using the standard grip mat. I put all my little pieces of vinyl on the same mat, and just ran it through in order. Weed your vinyl to get it ready for ironing.

  6. Place your faux leather earrings on the EasyPress Mat. Follow the directions for the Easy Press Mini which in this case is 30 seconds on the lowest setting. I used a teflon sheet to protect my faux leather while using the iron. As per the instructions, peel off the protective layer while it’s still warm. I did the brown popsicle pieces first, then the neons after. Use heat-resistant tape to keep things in place so they don’t slide!

  7. Add a jump ring and then an earring hook to your faux leather. Wear them with pride!

Cricut-Leather-Earrings-12.jpg

Now, let’s get into some FAQ about cutting faux leather:

Why is the Maker better than the Explore for faux leather cutting?

This is a great question! Before I got my Maker, I did use my Explore to cut faux leather. And it worked, for the most part. But, the Explore has to go over the leather twice to cut it. This can lead to the faux leather getting tangled up, especially if certain pieces cut well and then it slides over again and dislodges it. It’s also more time consuming! We know that us crafters have limited time as it is, haha.

How do I keep my leather from moving and sliding while cutting?

There are a few tricks to keep that pesky faux leather in place! First, use a Brayer to smooth the leather down and ensure a good adherence. Then, if you really want to keep it in place, add a bit of tape. I use painter’s tape and that works perfectly.

What blade do I need to cut faux leather?

You can make perfect, precise cuts using the fine-point blade.

How do I cut faux leather?

It’s really easy! Just place your leather face down on the mat- I use the purple heavy grip mat. You want to have the fabric backing facing up and the leather on the sticky side of the mat. Don’t worry- it won’t get ruined! Then, I like to use “more” pressure setting. Do your cuts, and then check that the cuts went all the way through. If they didn’t, run it through again and it’ll go over the same cuts, allowing your shapes to break free!

Screen Shot 2020-08-08 at 2.34.19 PM.png

Can I add vinyl to my faux leather?

Yep! Cricut Iron-Ons work perfectly for this. You just want to take some precautions. Remember, faux leather is artificial- aka plastic and melts easily. So, you want to protect it as much as possible before adding your vinyl. Use a teflon sheet to avoid directly touching the leather with your heat source. Second, be efficient. I love to use my Easypress Mini because I know the exact settings. This means I can go quick and avoid unnecessary heat on my faux-leather. It’s also the PERFECT size for earrings! Cricut recommends using their EasyPress Mat which is the perfect size for laying out a few earrings and getting all that iron-on vinyl secured!

Screen Shot 2020-08-08 at 3.18.54 PM.png

My faux leather just won’t cut- now what?

This is what’s great about the Cricut- it has a drawing feature! Switch your designs to DRAW, then load the fabric pen. This amazing pen has disappearing ink, so after you’re done trimming, use some water and the marks are gone! Allow the Cricut to do it’s thing, and you’ll have a precise template that you can now hand-cut.

Oh and PS- this GORGEOUS set of Cricut Pens is the Fine Point Pen Set- Sorbet. What dreams are made of!

Cricut-Leather-Earrings-5.jpg

I hope this post inspired you to make some faux-leather earrings too! I am LOVING my new Cricut Maker, so if you have any questions or if you’re on the fence about getting one, let me know! I can help you decide if it’s the right move for you :) I think one of the best things about the Cricut Maker is that you can create projects that you can sell, which helps you earn your money back that you spent on it! It’s really an investment piece, and a total necessity for any crafter out there!

In case that wasn’t enough, here are 5 things I love about my Cricut:

  1. I can cut faux leather with ease to make gorgeous earrings.

  2. The Cricut design space has thousands of amazing graphics, images and fonts that I can use to customize my projects. It’s SO easy to do, and I love that I can design then cut, all in one place!

  3. I can cut a variety of materials, including paper, vinyl, leather, felt even balsa wood!

  4. The Cricut is perfect for tiny details. I can draw or cut something and it’s precisely like it looked on my screen.

  5. It’s really easy to go from an idea to a finished project. Everything comes out perfectly!

DIY Metallic Painted T-Shirt

For my first project on My Magic Mess, I painted a t-shirt. I wasn't 100% happy with the project but it's easy to do and still pretty cute. So, I figured why not do a blog post about it?! This is a project that anyone can do, which I think is the best part. It's the perfect way to give an old t-shirt a new look! I think we all have a few old ones lying around that could use an update.

Metallic Tshirt-3.jpg

You will need:

T-Shirt (similar here)
Paintbrush (similar here)
Metallic Paint (here)
Cardboard
Iron or Dryer

Directions:

1. Put a piece of cardboard inside your shirt to protect it.

2. Paint the collar of your shirt using 2 coats of paint. I started in the back then moved to the front.

3. Let dry for 24 hours, then heat set it using an iron or the dryer.

Metallic Tshirt-6.jpg

This project is so easy to do that literally anyone can do it! If you find that you can't keep the edge straight, then keep going. Otherwise, you can make the line "messy" intentionally and it'll still be cute. What do you think about this easy project? Will you be making one?! Let me know in the comments below!

Rhinestone Ribbon Headband

As a mom, it seems like I’m constantly rocking that mom bun. Whether it’s because my hair is dirty, or because I throw it up in a bun to focus, it always somehow ends up on top of my head. For this week’s My Magic Mess Challenge I decided to make something easy and fun to cover up all those baby hairs I now have. You know, the joys of postpartum hair loss, hah! In addition to being very easy to make, these headbands are super affordable. Pop on a movie while you make it (I watched The First Wives Club on Netflix for the first time!) or grab a few girlfriends and get to crafting together. Either way, you’ll easily have a favorite new hair accessory!

Rhinestone-Headband-6.jpg

You will need:


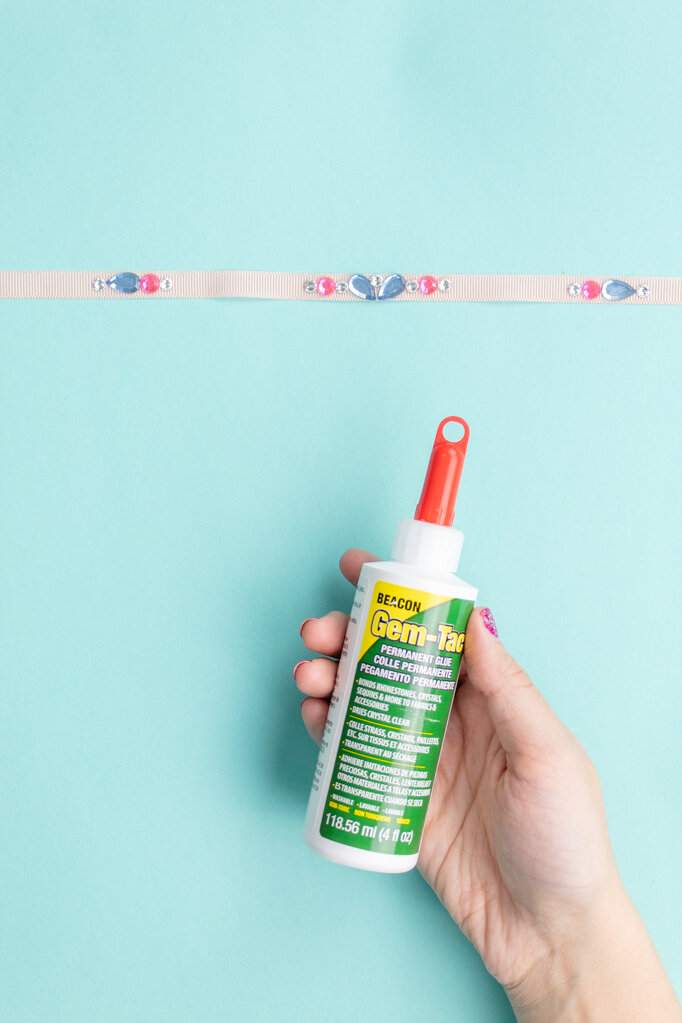
Beacon Gem-Tac (here)
Rhinestones (similar here and here)
Ribbon (similar here)
Scissors (similar here)

Rhinestone-Headband-1.jpg

Directions:

1. Measure out enough ribbon to make a headband and tie a bow. I used 42 inches.

2. Create a fun pattern with your rhinestones. I added a main design in the middle, with a matching design on the sides for extra sparkle.

3. Glue the rhinestones on with Beacon Gem-Tac. If too much comes out, you can use a toothpick to add a small dot of glue onto your rhinestone.

Rhinestone-Headband-2.jpg

To tie the headband, I recommend placing it on your head, tying it once, and placing a bobby pin at the back to hold it in place. Then you can tie a bow and remove the bobby pin!

Now you can add some extra sparkle to every outfit.

The Perfect Accessory for Every Outfit (under $14!)

I’ve got the accessory that will make every outfit look even better and the best part is that it costs less than $14. Oh wait did I say accessory? I meant accessories because this is a pack of 12 headbands for only 14 bucks. Yep you read that right and I’m excited about it too! I recently purchased a headband from Five Below and I wasn’t sure if I’d ever even wear it. I’ve always liked headbands but felt silly wearing them. However, I found that I wanted to add a punch to my outfits and cover up those baby hairs that popped up with my postpartum hair loss. Since then, I’ve been wearing headbands multiple times a week! Since I really only have 3, I went onto Amazon to see what I could find. That’s when I found this awesome mixed pack!

Although I can’t say I love every single headband in this pack, it’s so affordable that it’s worth it. There’s definitely several styles I would wear for less than the cost of buying just one in a store. For the few headbands I won’t wear, I’ve decided I’m going to give them out to friends that I think would love them so that hopefully I can encourage them to add a little pizzazz to their outfits too.!

I’ve always liked headbands but felt silly wearing them. However, I found that I wanted to add a punch to my outfits and cover up those baby hairs that popped up with my postpartum hair loss. Since then, I’ve been wearing headbands multiple times a …

When it comes to wearing headbands, people may ask how to wear them. Well I’m gonna start by saying the way to wear a headband is by just wearing it. I know that sounds silly and probably not the answer you were looking for, but it’s the truth. Just wear it! It’s going to feel silly at first (I know definitely did for me!) but soon enough you’ll realize that it’s really not a big deal and you actually love wearing them. You can wear them with pretty much any outfit or add them to any hairdo. Just give it a shot!

Personally, I love wearing my headbands with a little bit of my hair towards the front, or to hold all those little baby hairs when my hair is in a bun. They can also jazz up a braid which is really fun since braids can sometimes seem a little stuffy. 

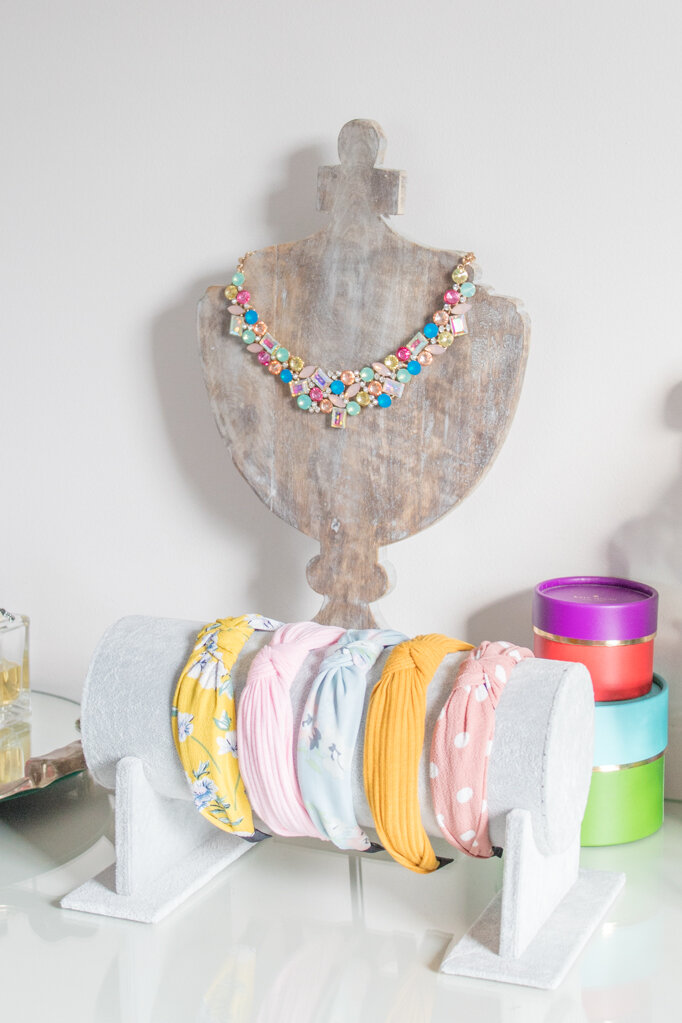
One of the things that been struggling with lately is how to store these headbands, because if you stuff them away somewhere you’ll probably never wear them again. Out of sight, out of mind- you won’t even know they exist anymore. So I’ve come up with a solution for you! I bought one of these headband holders that I can put on my dresser or in my closet for only $16. If you own headbands, you need this organizer! It’s non-negotiable friends. Just add it to your cart already.

If this set isn’t the exact style that you like, don’t worry – I’ve got a solution for you.

I’ve always liked headbands but felt silly wearing them. However, I found that I wanted to add a punch to my outfits and cover up those baby hairs that popped up with my postpartum hair loss. Since then, I’ve been wearing headbands multiple times a …

If you like soft headbands, try these out. I love wearing these when my hair’s in a bun, since they slip right on. I think it’s a lot harder to use these when you have your hair down. Personally, I don’t love that there’s essentially a scrunchie on me and they seem to move a lot, which is why I prefer the hard ones!

If you prefer a bow headband, try this pack. I have a similar pink striped one which I love. I think it’s so cute for adding a slightly preppy touch to an outfit, like my varsity sweater

I’ve always liked headbands but felt silly wearing them. However, I found that I wanted to add a punch to my outfits and cover up those baby hairs that popped up with my postpartum hair loss. Since then, I’ve been wearing headbands multiple times a …

If you’re a simple person who thinks this is way too many headbands, try a smaller three pack. They all have a gold trim which looks super elegant and since it comes in a range of colors, you’ll still have a headband for every outfit! I’m super tempted to buy this one too!

And, if you think that all these patterns are way too much and will clash with your outfits, try this pack of solid colored headbands. I love the lighter colors like the yellow and the coral, which I think would be great for fall!

I’ve always liked headbands but felt silly wearing them. However, I found that I wanted to add a punch to my outfits and cover up those baby hairs that popped up with my postpartum hair loss. Since then, I’ve been wearing headbands multiple times a …

No matter which pack you buy, it’s so much fun to add a headband to your outfits for a little bit of extra fun. It’s also great for wearing them around the house, even if you’re just wearing your PJs! I’d like to try to look put together, especially as a SAHM/WAHM, since getting out every day can be a challenge. Also, at this price point you don’t have to worry about breaking the bank! Even if you only wear four or five of the headbands out of the pack, just to be getting them for a steal compared to the cost in stores. And I really love the idea of giving these out to friends so they can accessorize their outfits too. You could even have a friend get in on it, where you buy one of the packs and they buy another, and then you share all the headbands and pick out all your favorites. 

I’ve always liked headbands but felt silly wearing them. However, I found that I wanted to add a punch to my outfits and cover up those baby hairs that popped up with my postpartum hair loss. Since then, I’ve been wearing headbands multiple times a …

So pick your favorite pack, and make the purchase right now so that you don’t forget. Or even worse, before you convince yourself that you can’t wear a headband! And, send this post to a friend that you think would love to accessorize her outfits too. I really think that it’s important to try new things, especially when it’s love to keep her off it’s pretty simple on the daily. Doing something like adding a headband can make an outfit feel so much more glam, even if it’s just a tee and jeans. Plus, if you pop that headband storage in your cart, you’re still under $30 and you’ll know that you have a place to keep them where they won’t be hidden or an eyesore!

So what do you think? Have I convinced you? Did I save your life by finding the perfect solution for your overflowing headband collection? Let me know in the comments below!

10 Reasons Why I Love thredUP

I’ve recently started shopping on thredUP and I am hooked. Like, head over heels, can’t-sleep-cuz-I-keep-thinking-about-you in love with them. At night I find myself on their app, scrolling for hours and dreaming about our future together. It’s because thredUP has some amazing deals. Like, “holy crap can this be right?” type of deals. As someone who loves a deal we’re a match made in heaven.  

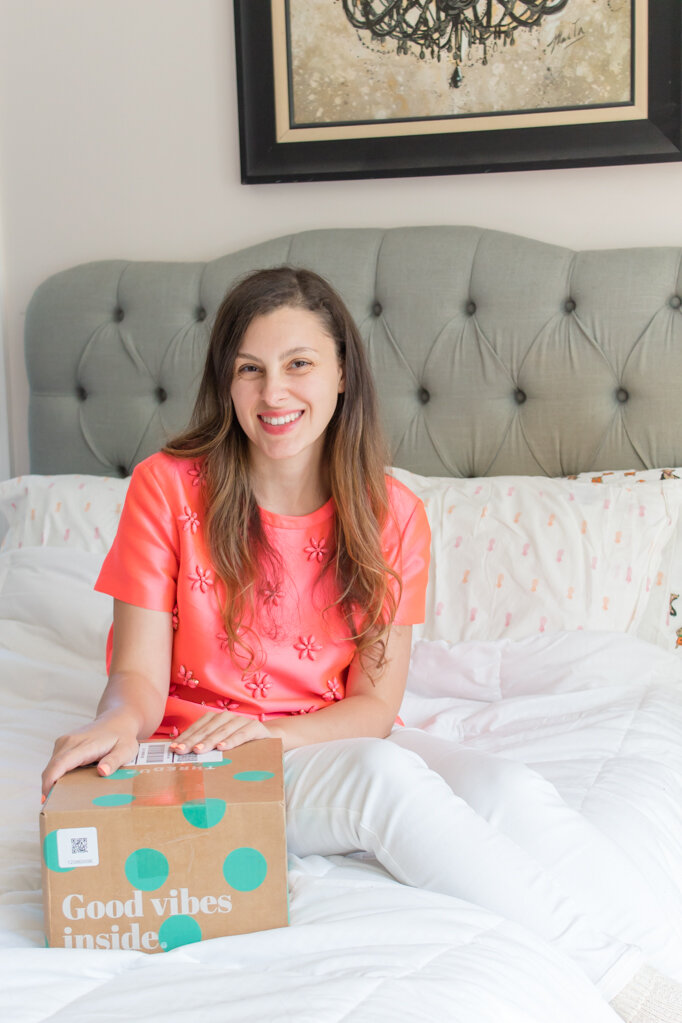
Before I share why I love thredUP sooo much, I want to share my special link that will get you $10 off your first order with thredUP. Depending on what you purchase, this can be equal to a free item! Click here to get $10 off your first order.

Without further ado, here’s 10 reasons why I love thredUP so much!

Keep hearing about thredUP and wonder what all the fuss is about? I’ve got 10 reasons why I love shopping on thredUP. #thredupoutfits #thredup

1. You can find name brand stuff for way less than in stores.

What are your favorite brands and places to shop? Kate Spade? Yep, they’ve got it. J. Crew? Yep, got that too. Looking for luxury designer brands? Yep, got that as well! From $10 Old Navy dresses to Burberry pullovers, they have what you want. I got a Kate Spade shirt that retailed for $298 for under $40 and a J. Crew skirt that retailed for $148 for less than $20. You don’t have to sacrifice style or quality with thredUP!

2. You can hone in on your style

Because thredUP has so many different brands, you can very easily discover your personal style by favoriting items you love. Then, when you go back through your favorites you’ll probably start to see a pattern developing that will shape your personal style. For example, I saved a lot of pink (duh!) but I also realized that I prefer solids instead of patterns and stripes over polka dots. I also realized I saved a LOT of baby blue striped items, which I never would have expected. I’m not drawn to that in stores, so it surprised me! My favorites section is filled with colorful, simple yet fun clothes. I realized for me it’s also about the silhouette and while I like items in solid colors, I like them to have something fun about them. I like my clothes to be interesting, like me! I also found that this helped me to see the items in a mix-and-match way since they all go together so well. It helps to know I won’t just wear an item once!

Keep hearing about thredUP and wonder what all the fuss is about? I’ve got 10 reasons why I love shopping on thredUP. #thredupoutfits #thredup

3. You can shop all your favorite brands 

This goes hand in hand with point #1. With thredUP’s search functionality, you can filter results based on what brand they are! From J.Crew to Old Navy to more luxury brands like Kate Spade, pretty much anything you want you can find it on thredUP! This is also great for when you love an item in stores, but they ran out of your size. Check back on thredUP and you may be able to find it again! That’s what happened to me with this Old Navy shirt.

4. You can buy brand new clothes

If the thought of wearing clothes that someone else wore before skeeves you out, don’t you worry- you can shop for BRAND NEW clothes that still have the tags on! We’ve all had those items in our closets that sat there for years, and now you can snag your favorite items that came out of someone else’s closet and give them new life.

5. They offer the ability to bundle

This is another of my favorite features that thredUP has! Since you only have 24 hours to keep an item in your cart, you’ve gotta shop with speed. You can get free shipping when you spend $79, but not everyone intends to spend that in one sitting. So, you can start a Buy & Bundle and you can add items as you go for up to 7 days! They hold a $5.99 shopping deposit, and once your order hits $79 it’s automatically refunded. If you decide that you don’t want to add any more items before the 7 day mark, don’t you worry- you can choose to have your items shipped at any time, even if you haven’t hit that $79 threshold! This is a game changer so you can shop leisurely and avoid that shipping fee we all hate so much!

Keep hearing about thredUP and wonder what all the fuss is about? I’ve got 10 reasons why I love shopping on thredUP. #thredupoutfits #thredup

6. You can shop a person’s items

If you found an item you love, you can scroll down and see the More From This Seller section, where they show additional items that this seller sent them. If you like one item, there’s a chance that you found your style bestie and they’ll have even more items you like! Plus, they’re very likely to be in your size too. 

7. They recommend similar items you may like 

Just below the More From This Seller section, you’ll find a whole list of similar items to the one you’re looking it! Let’s say you’ve got a red pullover sweater. They’ll show you other, similar red pullover sweaters. This is great for if an item looks nice but maybe isn’t 100% your style. Let’s say you wanted a crew neck but it’s a neck. This section is great for finding alternatives! I love scrolling through this section to find items like the one I’m looking at. Sometimes there are some real gems here!

Keep hearing about thredUP and wonder what all the fuss is about? I’ve got 10 reasons why I love shopping on thredUP. #thredupoutfits #thredup

8. They’re always running promotions and specials.

I love a good sale! When you shop on thredUP, you can always find a deal but very often there’s also coupon codes on top! That’s savings on top of savings. I’ve seen them offer free shipping, 15-40% off coupons, and they even did a BINGO game in the summer that was super fun! It had different squares with different deals inside and you got points for each one you filled in, with a chance to win a shopping spree when you got BINGO!

9. They offer 3 monthly payments with no interest

You can break up your order into 3 payments if you want to. By partnering with Affirm, thredUP allows you to shop now and pay later! This might not be practical for everyone or in everyday use, but here’s an example of where it could be useful. Let’s say you get a new job and want new clothes. By shopping on thredUP with Affirm, you can buy these items now, wear them and ROCK your new job, then pay them off once your new paycheck starts coming in. It’s also great for buying back to school clothes for the kids, seasonal clothes, or vacation clothes! I’ve never used this before so I’d do some research into it before applying, but it can be super useful if you need some new clothes right now but can’t pay all at once.

10. Their interface is great

I guess you can say I left the best for last, but their interface is AMAZING. Unlike most places where you shop used clothes, it looks so clean and practically brand new. No more sifting through piles of clothes, no more trying to push over a hanger jammed in a small space, and no more horrible photos of clothes laying flat and lifeless. Each item is professionally photographed on a mannequin in accurate lighting. This means you can see EXACTLY what you’re getting and imagine wearing it! Looking through their items is actually enjoyable because everything looks so pretty. For me, one of the worst parts about shopping for used clothes is how gross everything can feel. Between the icky smells and the crappy shopping environment, it doesn’t seem worth the hassle. With thredUP, you don’t have any of that! You’ll actually love using their app since it’s so easy to navigate and pretty. 

Keep hearing about thredUP and wonder what all the fuss is about? I’ve got 10 reasons why I love shopping on thredUP. #thredupoutfits #thredup

So, there you have it! 10 reasons why I LOVE thredUP. I’m planning to write another post about how I used thredUP to narrow down my style and how I find the very best deals on their site. Let me know if this is something you’d be interested in by commenting below!

Be sure to sign up for thredUP now using my link and get your $10 to spend on your first order.

Have you ever shopped on thredUP? Let me know your thoughts and your favorite parts in the comments below!