DIY Metallic Painted T-Shirt

For my first project on My Magic Mess, I painted a t-shirt. I wasn't 100% happy with the project but it's easy to do and still pretty cute. So, I figured why not do a blog post about it?! This is a project that anyone can do, which I think is the best part. It's the perfect way to give an old t-shirt a new look! I think we all have a few old ones lying around that could use an update.

Metallic Tshirt-3.jpg

You will need:

T-Shirt (similar here)
Paintbrush (similar here)
Metallic Paint (here)
Cardboard
Iron or Dryer

Directions:

1. Put a piece of cardboard inside your shirt to protect it.

2. Paint the collar of your shirt using 2 coats of paint. I started in the back then moved to the front.

3. Let dry for 24 hours, then heat set it using an iron or the dryer.

Metallic Tshirt-6.jpg

This project is so easy to do that literally anyone can do it! If you find that you can't keep the edge straight, then keep going. Otherwise, you can make the line "messy" intentionally and it'll still be cute. What do you think about this easy project? Will you be making one?! Let me know in the comments below!

Rhinestone Ribbon Headband

As a mom, it seems like I’m constantly rocking that mom bun. Whether it’s because my hair is dirty, or because I throw it up in a bun to focus, it always somehow ends up on top of my head. For this week’s My Magic Mess Challenge I decided to make something easy and fun to cover up all those baby hairs I now have. You know, the joys of postpartum hair loss, hah! In addition to being very easy to make, these headbands are super affordable. Pop on a movie while you make it (I watched The First Wives Club on Netflix for the first time!) or grab a few girlfriends and get to crafting together. Either way, you’ll easily have a favorite new hair accessory!

Rhinestone-Headband-6.jpg

You will need:


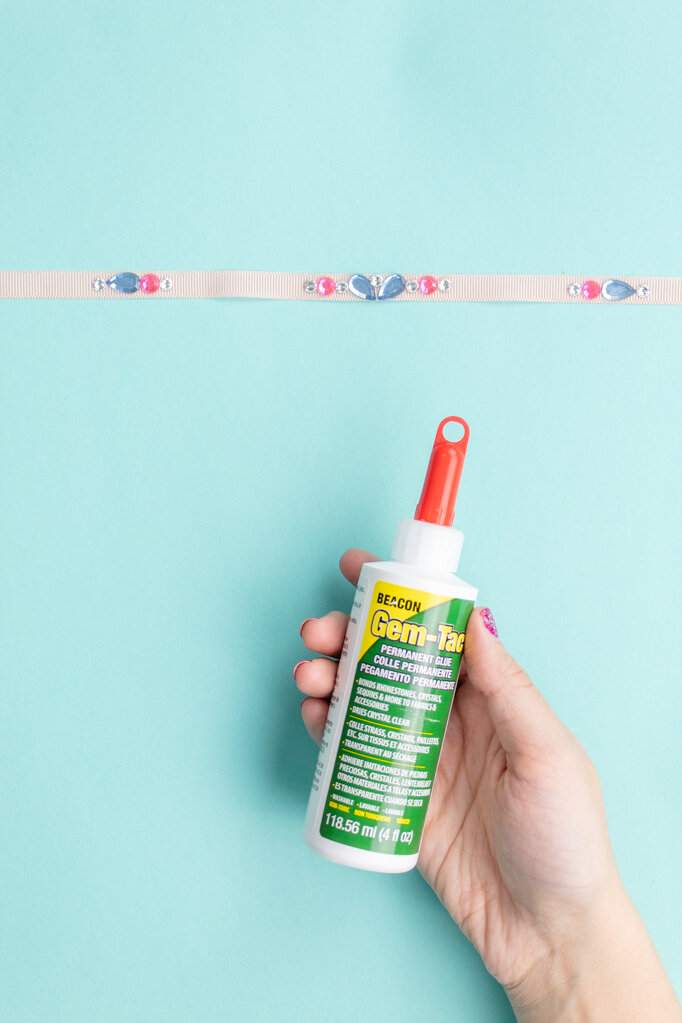
Beacon Gem-Tac (here)
Rhinestones (similar here and here)
Ribbon (similar here)
Scissors (similar here)

Rhinestone-Headband-1.jpg

Directions:

1. Measure out enough ribbon to make a headband and tie a bow. I used 42 inches.

2. Create a fun pattern with your rhinestones. I added a main design in the middle, with a matching design on the sides for extra sparkle.

3. Glue the rhinestones on with Beacon Gem-Tac. If too much comes out, you can use a toothpick to add a small dot of glue onto your rhinestone.

Rhinestone-Headband-2.jpg

To tie the headband, I recommend placing it on your head, tying it once, and placing a bobby pin at the back to hold it in place. Then you can tie a bow and remove the bobby pin!

Now you can add some extra sparkle to every outfit.

DIY Polly Pocket Iron-On Tee

Ah, Polly Pocket. The choking hazards of our childhood. Something about the amazing little world they could create in such a small space was seriously enticing as a kid. I was more into Barbies, but I did have one Polly Pocket toy that I loved- Vintage Polly Pocket Waterpark Fun which had an awesome pull-out slide! I don’t know how much I really played with the Polly Pocket, but I know I did often open up the case and stare at its interior. Usually Polly was a “Barbie” for my Barbies, but that case had its own special place in my heart. 

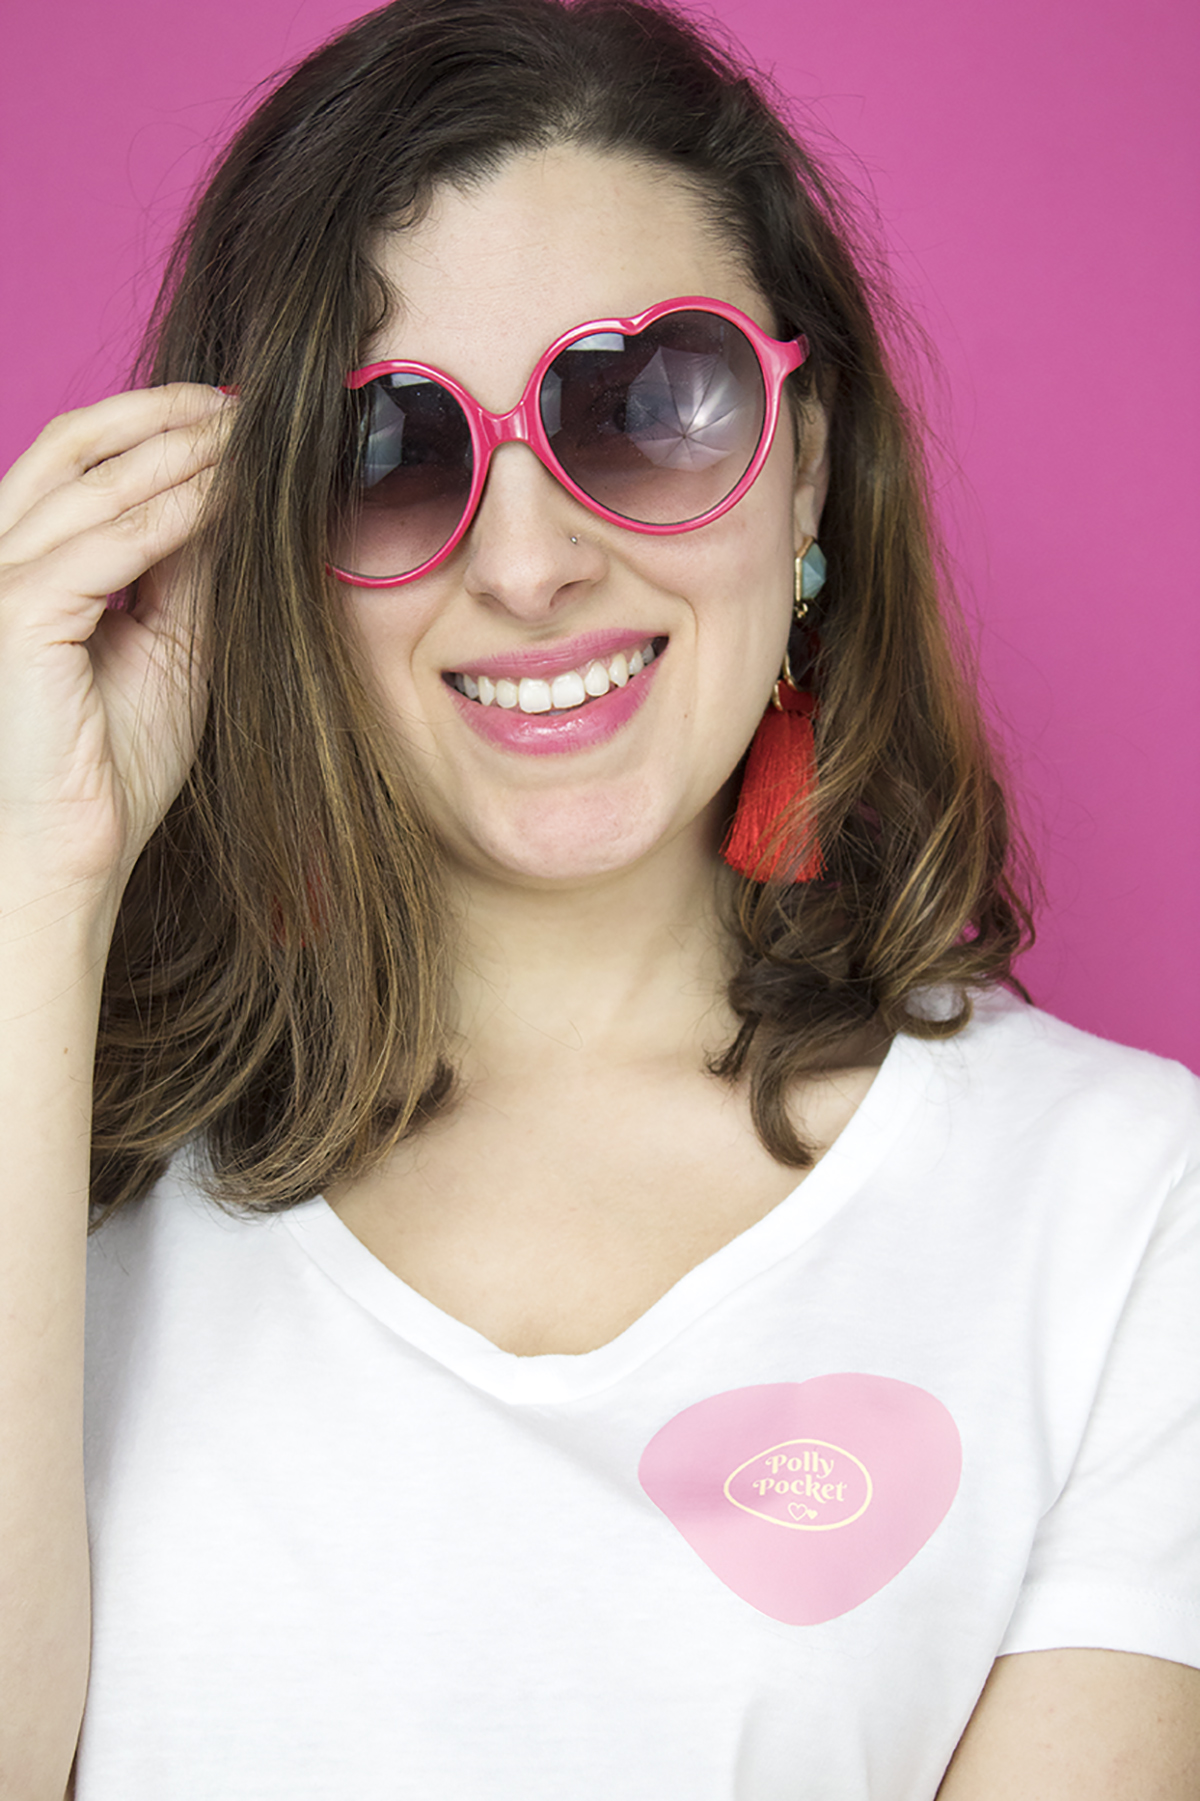
To commemorate my love for Polly Pockets, I made these super cute printable iron-ons that you can put on pretty much anything you desire! Get your printer out and your iron ready- we’re making some tees!

To commemorate my love for Polly Pockets, inside and out, I made these super cute printable iron-ons that you can put on pretty much anything you desire! We’ve got 2 sizes (kid and adult) and 2 orientations (backwards and forwards) so that it works for everyone! I picked some of my favorite shapes including my turquoise flower, a heart (perfect for Valentines Day and Galentine’s Day!), a sea shell, a star, and a regular 'ole square that looks somewhat like an ordinary pocket. Get your printer out and your iron ready- we’re making some tees!

To commemorate my love for Polly Pockets, I made these super cute printable iron-ons that you can put on pretty much anything you desire! Get your printer out and your iron ready- we’re making some tees!

You will need:

Tees (here, here, here)
Sweatshirts (here, here)
Iron-on for dark fabrics (here)
Scissors (here)
Fabric marker with disappearing ink (here)
Iron
Parchment paper
Fun earrings to wear them with! (here)
Free printable (see below)

The printable is available in my resource library, which you can get totally FREE access to, just by signing up. What exactly do you get? Access to all my printables, including party planning guides, checklists, and my projects. By signing up, you'll have access to all projects- past, present and future! 


Directions

To commemorate my love for Polly Pockets, I made these super cute printable iron-ons that you can put on pretty much anything you desire! Get your printer out and your iron ready- we’re making some tees!
  1. Print out your Polly Pockets according to the instructions on your iron-on paper. I used the one for dark fabrics, and it worked perfectly on my white shirts too. It required printing the design the normal way. Often, light colored fabric iron-ons require it to be backwards. Just be sure to follow the instructions on your papers!

  2. Cut out each design, then trim off all the extra. The paper is white, so anything left over will show! I stayed as close to the edge as possible.

  3. Try on your shirt, and mark where you want your Polly Pocket to go. Remember that when you look in the mirror, everything is backwards ;)

  4. Put your shirt on a flat surface. Remove any hairs with a lint roller, and iron your shirt to be free of wrinkles.

  5. Peel the back off your Polly Pocket decal, and place it in the spot that you want. Cover with parchment paper

  6. Iron according to the instructions on your package. Mine said to iron for 40-60 seconds with a lot of pressure. Let cool completely.

To commemorate my love for Polly Pockets, I made these super cute printable iron-ons that you can put on pretty much anything you desire! Get your printer out and your iron ready- we’re making some tees!

The printable is available in my resource library, which you can get totally FREE access to, just by signing up. What exactly do you get? Access to all my printables, including party planning guides, checklists, and my projects. By signing up, you'll have access to all projects- past, present and future! 

To commemorate my love for Polly Pockets, I made these super cute printable iron-ons that you can put on pretty much anything you desire! Get your printer out and your iron ready- we’re making some tees!

PS- For anyone that missed my Instagram stories, I decided that I'll be "the ugly blogger", because trying to take photos where I am actually pretty proves to be a challenge for me. So, get ready to see some awkward pics like the one above. They're just so much more fun to take than fake laughing so that I look happy!

Sources: All Earrings, Seashell Cup, Diamond Ring, Heart Sunglasses Similar, Vintage Polly Pocket- Waterpark Fun

DIY Animal Sweater Necklace

Last month, I made some awesome Animal Sweater Ornaments for my pink mini-tree and I just couldn't bear to put them away! So, what's a girl to do? Re-purpose them into something that can be worn year-round! (or, at least, all winter long.) These animals in sweaters are so cute that everyone wants them. I only wore these twice and I had several questions about where I got them! They would also make a great gift for a winter or animal/dinosaur-themed party, or even as party favors! Overall, I think they're the freakin' cutest and they're so much fun to make!

These animals in sweaters are so cute that everyone wants them! They would make a great gift for a winter or animal/dinosaur-themed party, or even as party favors! Click for the DIY. #diyjewelry #handmadejewelry #diygifts

You will need:

Plastic animals (here and here)
Acrylic paint (here)
Felt (similar here)
Screw eyes (similar here)
Glitter (here)
Nylon cord (here)
Jump rings & clasps (similar here)
Beads (From Joann, like these but in pink & orange) 
Toothpicks
Gluegun
Jewelry tools (here)
Scissors (here)

Directions:

These animals in sweaters are so cute that everyone wants them! They would make a great gift for a winter or animal/dinosaur-themed party, or even as party favors! Click for the DIY. #diyjewelry #handmadejewelry #diygifts

1. Paint a sweater onto your animals using your acrylic paint. I did it freehand, but you can always use some artist's tape if you don't have a steady hand. I did 2 coats.

2. While they dry, cut a few thin strips of felt for the scarf. Try to be mindful of how large the animals' necks are in comparison to the length and width of the scarf.

3. Paint your scarves with either a thin paint brush or a toothpick. I used the pointy side for the polka dots, and the edge for stripes. I used a paintbrush for the thicker stripes, but overall I mostly used toothpicks.

4. Once the animals are dry, add glitter to the edge of the sweater to jazz it up and provide a clean edge. I used glitter paint, but you can achieve a similar look by using a small amount of equal parts glue and glitter to create your own paste/paint. I found that a toothpick was the perfect tool to get the glitter paint on in a thin line.

5. Glue your scarf in place. I used a small dab of hot glue on the scarf to shut it. If it moved around too much, I added a small dab of glue on the animal to secure it in place.

6. Using your pliers, screw the screw eye into place. I first took the pointy screw side and twisted in to make a small hole, then I used my pliers to twist the screw eye into place. When it gets to a point that it's mostly in, I recommend using your hand to twist it all the way in, so that your pliers don't scratch the paint.

These animals in sweaters are so cute that everyone wants them! They would make a great gift for a winter or animal/dinosaur-themed party, or even as party favors! Click for the DIY. #diyjewelry #handmadejewelry #diygifts

7. Cut your string the length you want it to be plus a little extra. Create a Larks Head Knot to secure the thread to your animal pendant. I also added a regular knot after, so that it stayed in place, nice and snug and secure :) 

8. Add your beads. I only wanted a few, so I did 3 neon pink and orange on each side. Be sure your bead hole is big enough for your string, and trim as you go along so that you have a nice, compact edge to thread the beads with. I found that mine got "fat" after a bead or two and needed to be trimmed off.

9. Attach your clasp to one crimp, and your jump ring to another crimp, and attach them to your cord. 

These animals in sweaters are so cute that everyone wants them! They would make a great gift for a winter or animal/dinosaur-themed party, or even as party favors! Click for the DIY. #diyjewelry #handmadejewelry #diygifts
These animals in sweaters are so cute that everyone wants them! They would make a great gift for a winter or animal/dinosaur-themed party, or even as party favors! Click for the DIY.
These animals in sweaters are so cute that everyone wants them! They would make a great gift for a winter or animal/dinosaur-themed party, or even as party favors! Click for the DIY. #diyjewelry #handmadejewelry #diygifts

How cute are these necklaces?! I'm so glad I get to re-use those ornaments and be able to see them daily! I really love re-purposing little animal toys, as exhibited by my Circus Animal Drink StirrersZebra Party Tray, and Animal Sweater Ornaments.  

So, what else would you like to see these animal toys made into? Let me know in the comments below!

DIY Disco Ball Earrings

HAPPY NEW YEAR! 

For the first DIY of the year, I really wanted to showcase something I LOVE- disco balls! I really wanted a pair of disco ball earrings that were simple, and not cheesy. So many of them go with a 70's costume and they're more groovy than classy. I love that you can wear these earrings anytime there's a party- or anytime you want to party. They're super easy to make and lightweight. Plus the pack comes with 12 mini disco balls- that's enough for 6 pairs of earrings! So pop on your earrings, grab some confetti, and party the night (or day) away! If you want a party go along with them, check out this Pink Disco Ball Party!

You can wear these earrings anytime there's a party- or anytime you want to party. They're super easy to make and lightweight. Check out the DIY now!

You will need:

Mini disco balls (here)
Jewelry tool kit (here)
Jewelry findings kit (here)
Pink seed beads (similar here)

Directions:

You can wear these earrings anytime there's a party- or anytime you want to party. They're super easy to make and lightweight. Check out the DIY now!

1. Remove the string from your mini disco balls

2. Take your pin and insert it through the center of your disco ball using the hole from the string as a guide. The flat end should be at the bottom.

3. Add a few seed beads to the top and trim if necessary.

4. Twist your pin around the edge of your round nose pliers to create a hanging hoop.

5. Attach your earring hook to your hanging hoop. Wear and enjoy!

You can wear these earrings anytime there's a party- or anytime you want to party. They're super easy to make and lightweight. Check out the DIY now!

Don't mind my crazy face- confetti makes me a little bit too excited haha. How great are these earrings?! Be sure to check out the Pink Disco Ball Party for even more pink party goodness!