Easy Striped Halloween Art
/It's FALL!!! Halloween is almost here!!! YAYYYY!
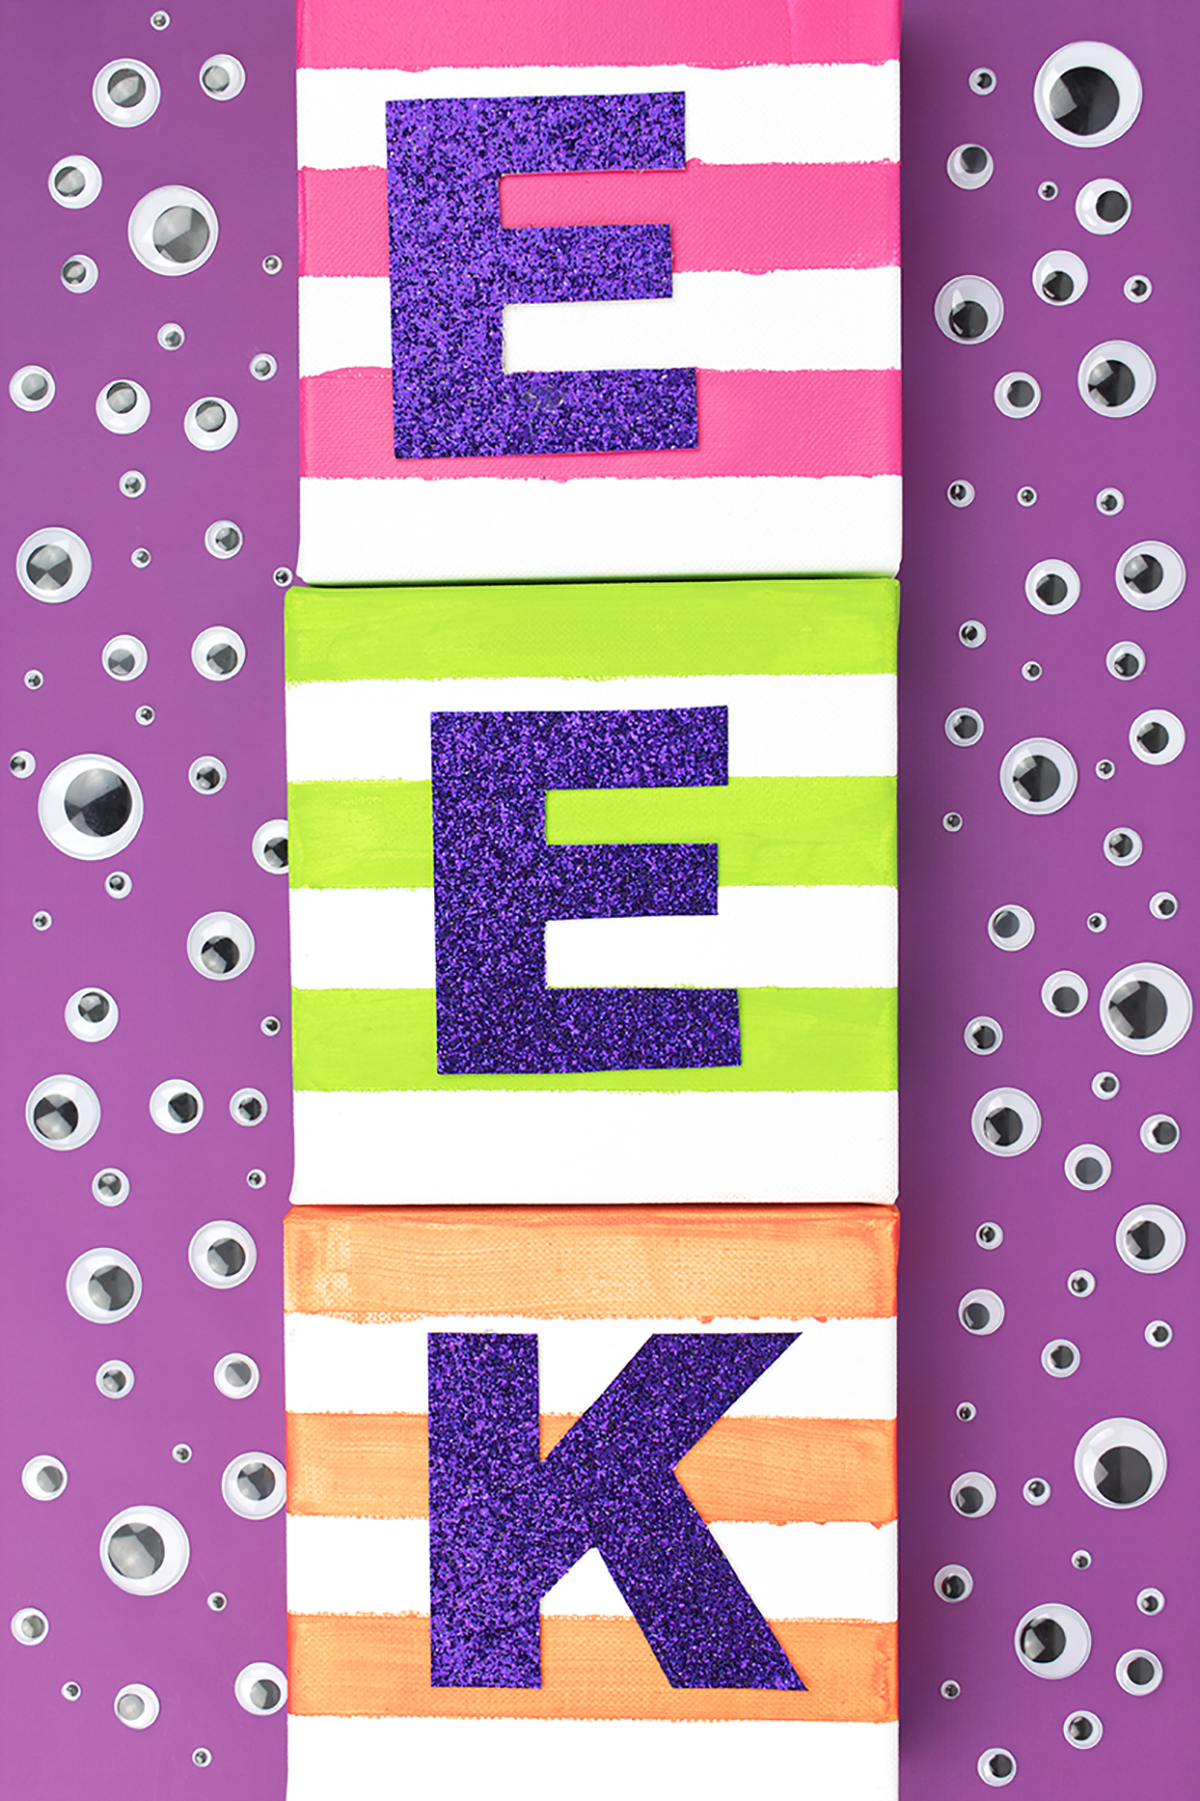
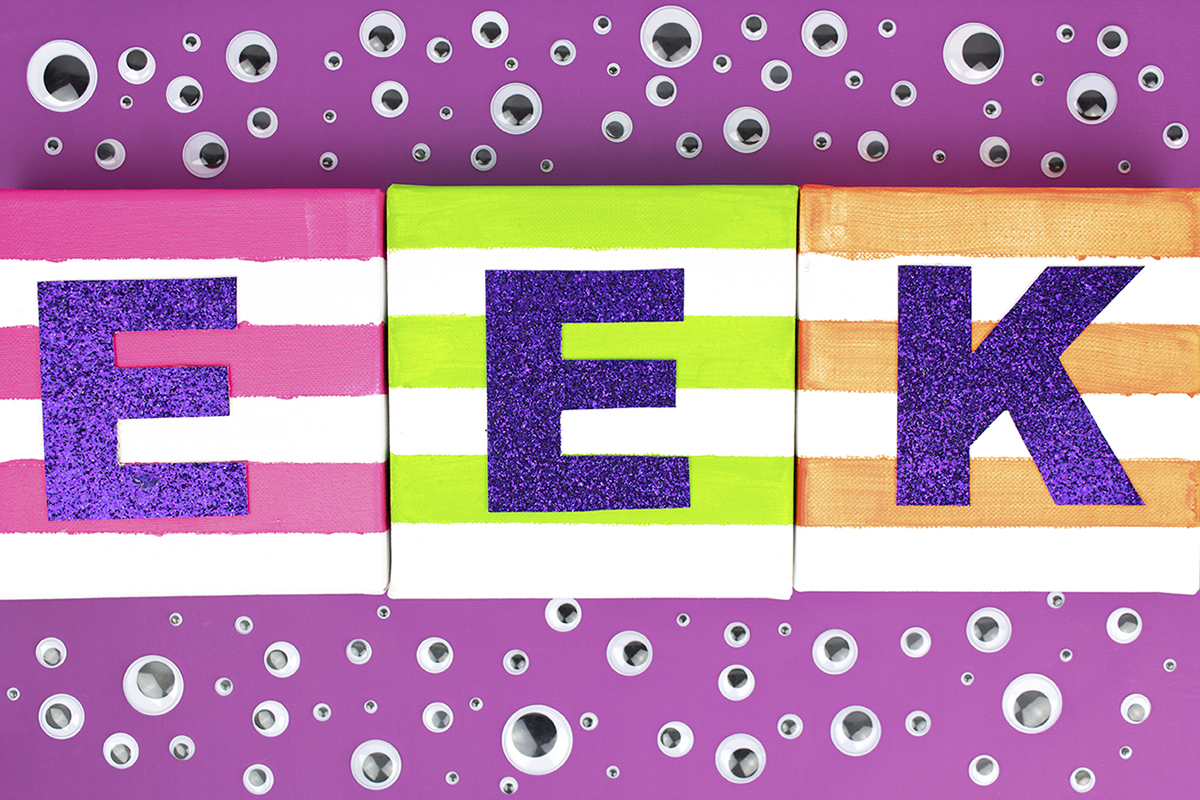
Ok, I think I'm a little bit too excited about Halloween, but I just can't help it. Halloween is one of my favorite holidays, and fall is my favorite season! This week, I whipped out my Halloween decorations, and started to decorate. While I love the traditional black and orange, I wanted something with a little more color to add a pop to my usual Halloween decor. Lucky for me, I knew just what to do! And lucky for you, I made a DIY for ya ;)
You will need:
1. Using your T-Square or ruler, make lines going across the sides of your canvas at every inch. Flip it, and make lines on the other side. We are doing this so that we know where our tape needs to go without making lines on the front. We want our lines to be as straight as possible!
2. Add your tape, starting at one end, wrapping across the front, and lining up on the other side. Press it down so the paint doesn't sneak in like mine did ;)
3. Paint your canvas, making sure to get the sides too. I found the neon paint to be a bit thin, so I did a few coats.
4. When your paint is dry, peel off the tape .
4. Create large letters on your computer and print. I did EEK because it would be easier to cut out, but you can do anything! I cut out my printed letters, traced them onto the glitter paper (BACKWARDS!) and then cut them out using scissors, and an X-Acto knife for the smaller parts. I use this cutting mat to protect my work surface and love it!
5. Hot glue your letters onto your canvas. You'll want to make marks so it's centered, by making a very faint line on the canvas and then gluing the letter right on top.
"Eye" hope you liked this post! If you're not into the whole neon Halloween thing, you can definitely change it up to the classic black and orange. Or, if Halloween isn't your thing at all, you can make one of these and use it as a monogram decor in your home! The possibilities are endless. You can make these for every holiday! Especially if you get the canvases on sale with a coupon from Michael's (which is what I did!)
What's your favorite color combo for Halloween? Do you like to keep it classic? Try new things? Hate Halloween in general? Let me know in the comments below!


